9-Dec-2021
How to take better mushroom photos 2 - Using macro lenses
In our previous mushroom photography article we have looked at the possibilities to creatively solve the problems we may encounter with lighting. In this article let's get a bit technical and see how we can use macro photography techniques to improve our mushroom photography.
Using macro lenses
There are so many ways you can take good photos of mushrooms, however you might have realized that if you take mushroom photos with your standard camera kitlens and try to get closer to them, your lens will stop focusing after some distance. Here you know that you hit your lens's 'minimum focusing distance' limit, which means the front elements of your lens cannot move more forward to be able to focus closer. As a best remedy for this problem we have the macro lenses. Macro lenses are lenses specially designed to take close-up photos and they can take pictures with "life-size" magnification ratios or even more. Being optimized for close-up photography, a macro lens will give much better sharpness and color rendering compared to alternative ways and investing on one would take your mushroom photography to another level.
In case you would complain: "here we go, we need to invest on yet another gear", let's look at some alternative solutions first to remedy this problem:
- Crop: You can crop your photo sacrificing great deal of image quality and resolution.
- Close up lens kits: Puts a magnifier glass in front of your lens and allows you to get closer to your subject, a very cheap solution but image quality will be as good as a magnifying glass image quality is. They also do not increase magnification drastically or the more they increase the more horrible the image becomes.
- Extension tubes: We have told the front element of your lens needs to move more forward to be able to focus closer. Instead you can move the whole lens forward and focus closer to your image. This is how extension tubes work. They are just hollow tubes that you put inbetween your camera and lens and they allow closer focusing. They do not deteriorate your photo as much as closeup kits but the result you get would be random depending on the lens you are using with it because you are focusing to a distance your lens normally does not support. They also do not increase the magnification drastically unless you stack them alltogether. The biggest problem with using extension tubes is the focal range of the lens getting too narrow with them. You cannot zoom in and out easily once you attach your lens to an extension tube, the range of your lens will shrink drastically and you will need to change the size of the extension tube to be able to focus to another distance.
- Inserting your lens upside down: With an adapter you can insert your prime lens upside down and use it as a magnifier lens instead. Creepy but may give random good results.
- Buying a zoom lens with macro button: Some zoom lenses produced by third party lens companies have a macro button on them and assert that it becomes a 'macro' lens using it. What makes a macro lens a 'macro' is ability to give a max magnification ratio of 1:1 or more. Looking at the specs of those macrozoom lenses, they give only max 1:3 or so, not even a life-size magnification.. So they are not macro lenses and cannot be used for macro work. You should stay clear from those lenses and the brands who produce such misleading products with incorrect specs..
- Using a telephoto lens to get closer: If you do not want to buy a macro lens, you can also take close up photos with your telephoto lenses by moving 3-5 meters away from your subject (I have tried..). It works but has of course its own unique practical difficulties..
- Using a teleconverter : You can also use teleconverters with your standard prime lenses to increase the magnification without getting closer to your subject. Then disadvantages of teleconvers may apply such as decreased light intake and image resolution degrading. I use them to focus even closer with my macro lenses. However, be careful when inserting your lens into one of them. It can hit and scratch the back of your lens if two are not compatible.
As you can see none of those solutions will give you the versatility and quality of using a macro lens. Then how can we choose one that suits our mushroom photography and how to use them? Now let's dive deeper into that.
How to use them
First we need to understand what magnification ratio is. Your standard 50mm prime lens has probably a magnification ratio of 1:5, which means 1 to 5 magnification. So if you take a flower image in your full frame camera with this lens by going as close as possible, it takes that flower from its life-size form, shrinks it 5 times in size and then reflects it to your camera sensor. So a life-size 1:1 magnification ratio macro lens will instead take the flower from its life-size form and reflect it on your camera sensor as it is, just like what you see detaching the frame of your sensor and putting it on that flower.

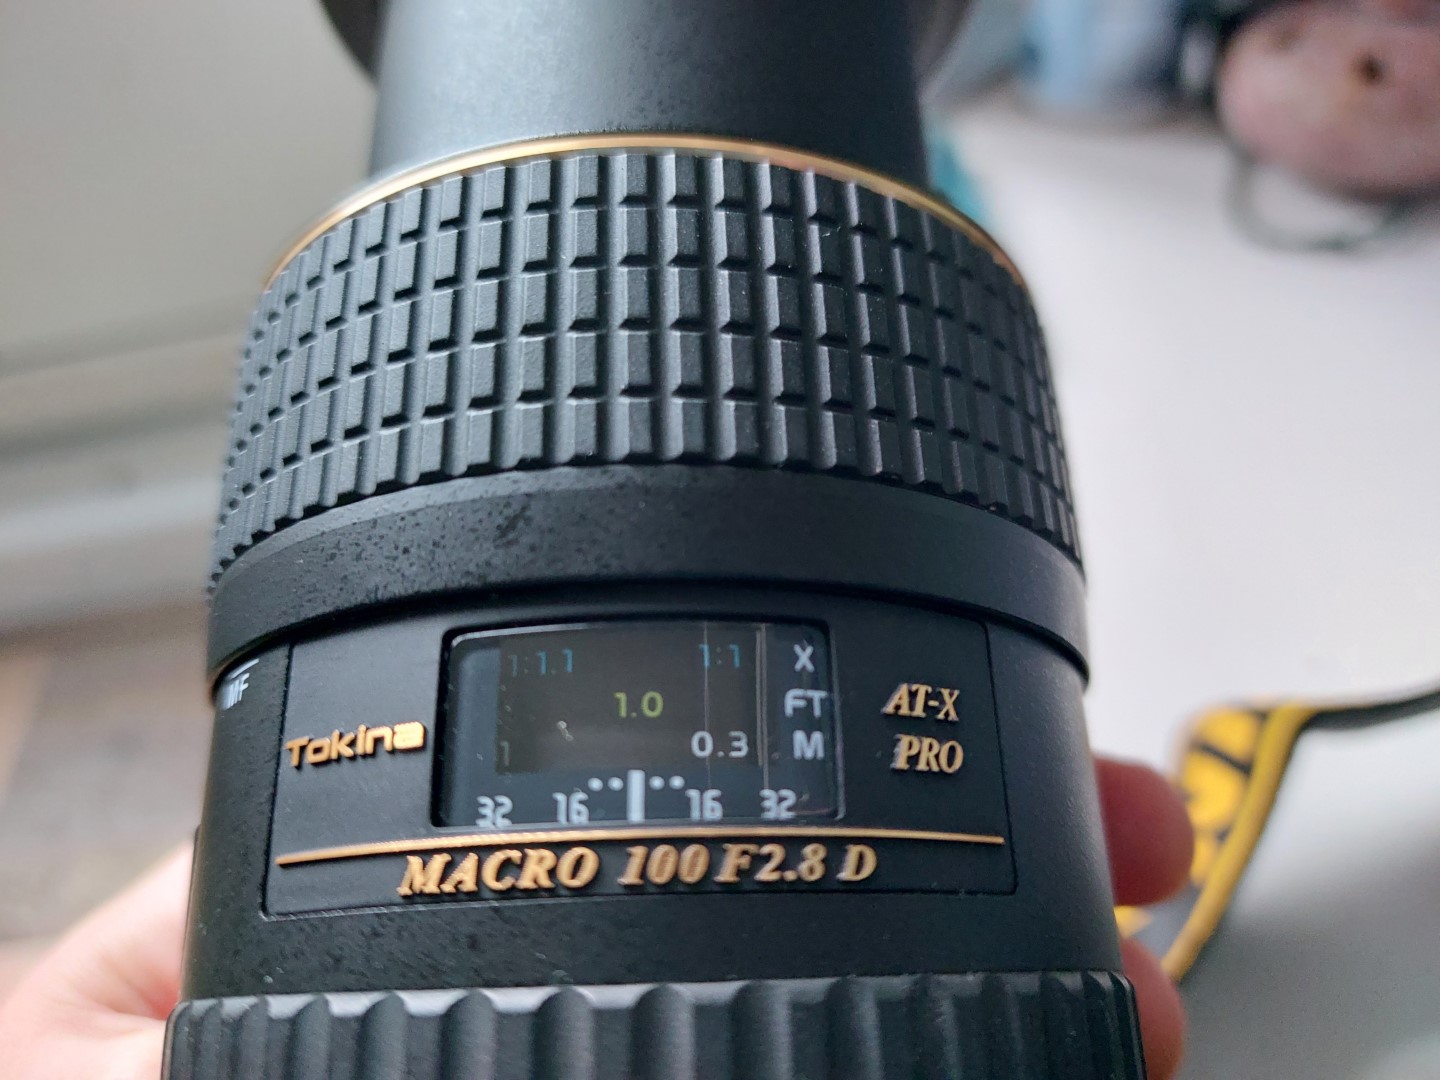
Magnification ratio is a very special topic in macro photography and it is generally included on the focus diagram of your macro lens. A lens always gets its maximum magnification on its closest focal distance :
So magnification is relative to the size of your camera sensor, size of the subject and focusing distance. Then attaching the same lens on your cropped sensors will give you more magnification and attaching the same lens on your cellphone camera will give you even more! However practical use always could be a problem and keep in mind that you almost always get better image quality and high ISO performance with your full frame or DX crop cameras than a smaller sensor camera. Also on mushroom photography, you may need to go further away from the mushrooms if you shoot the same photo with a cropped sensor instead, which may be a little bit less practical:
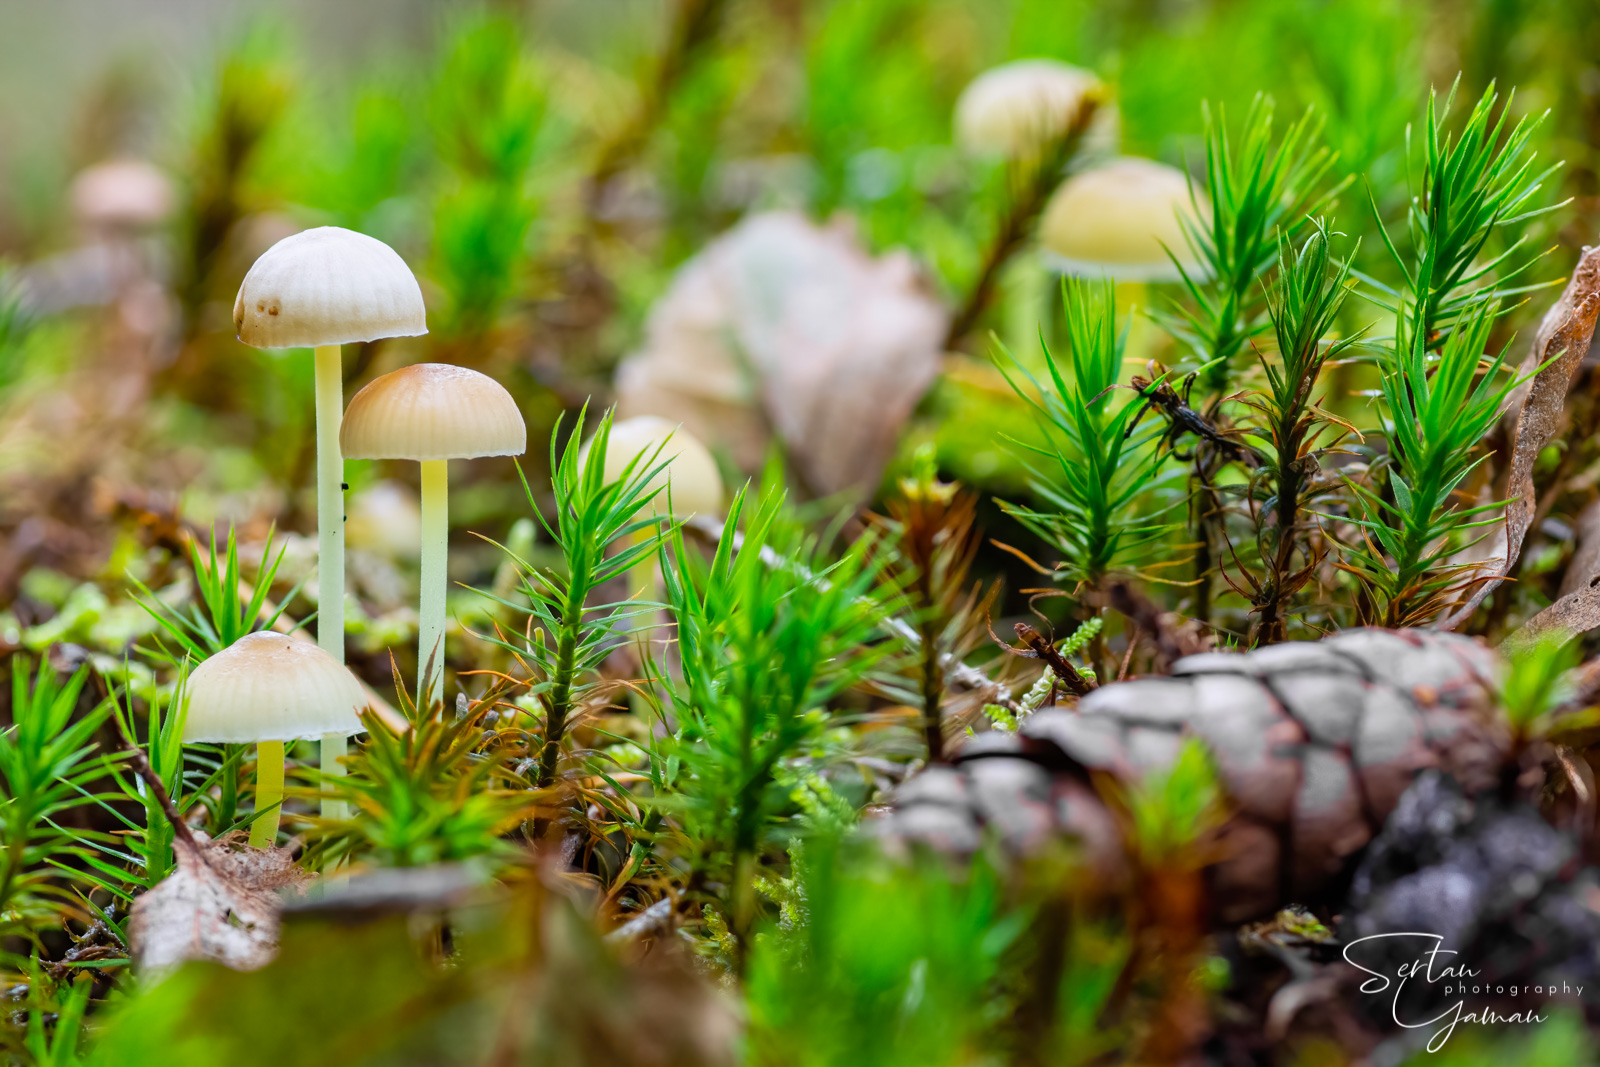
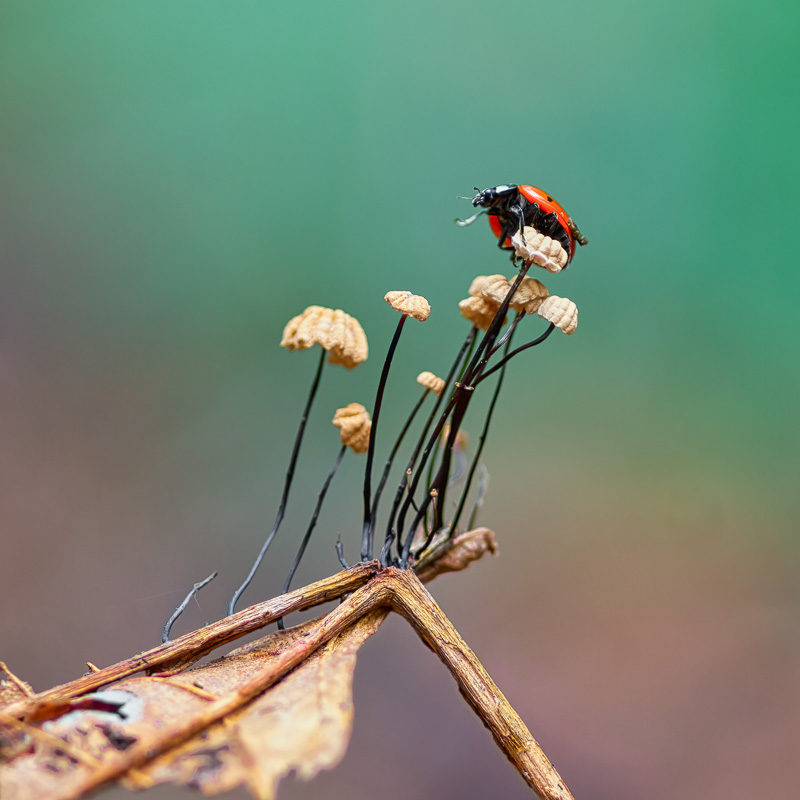
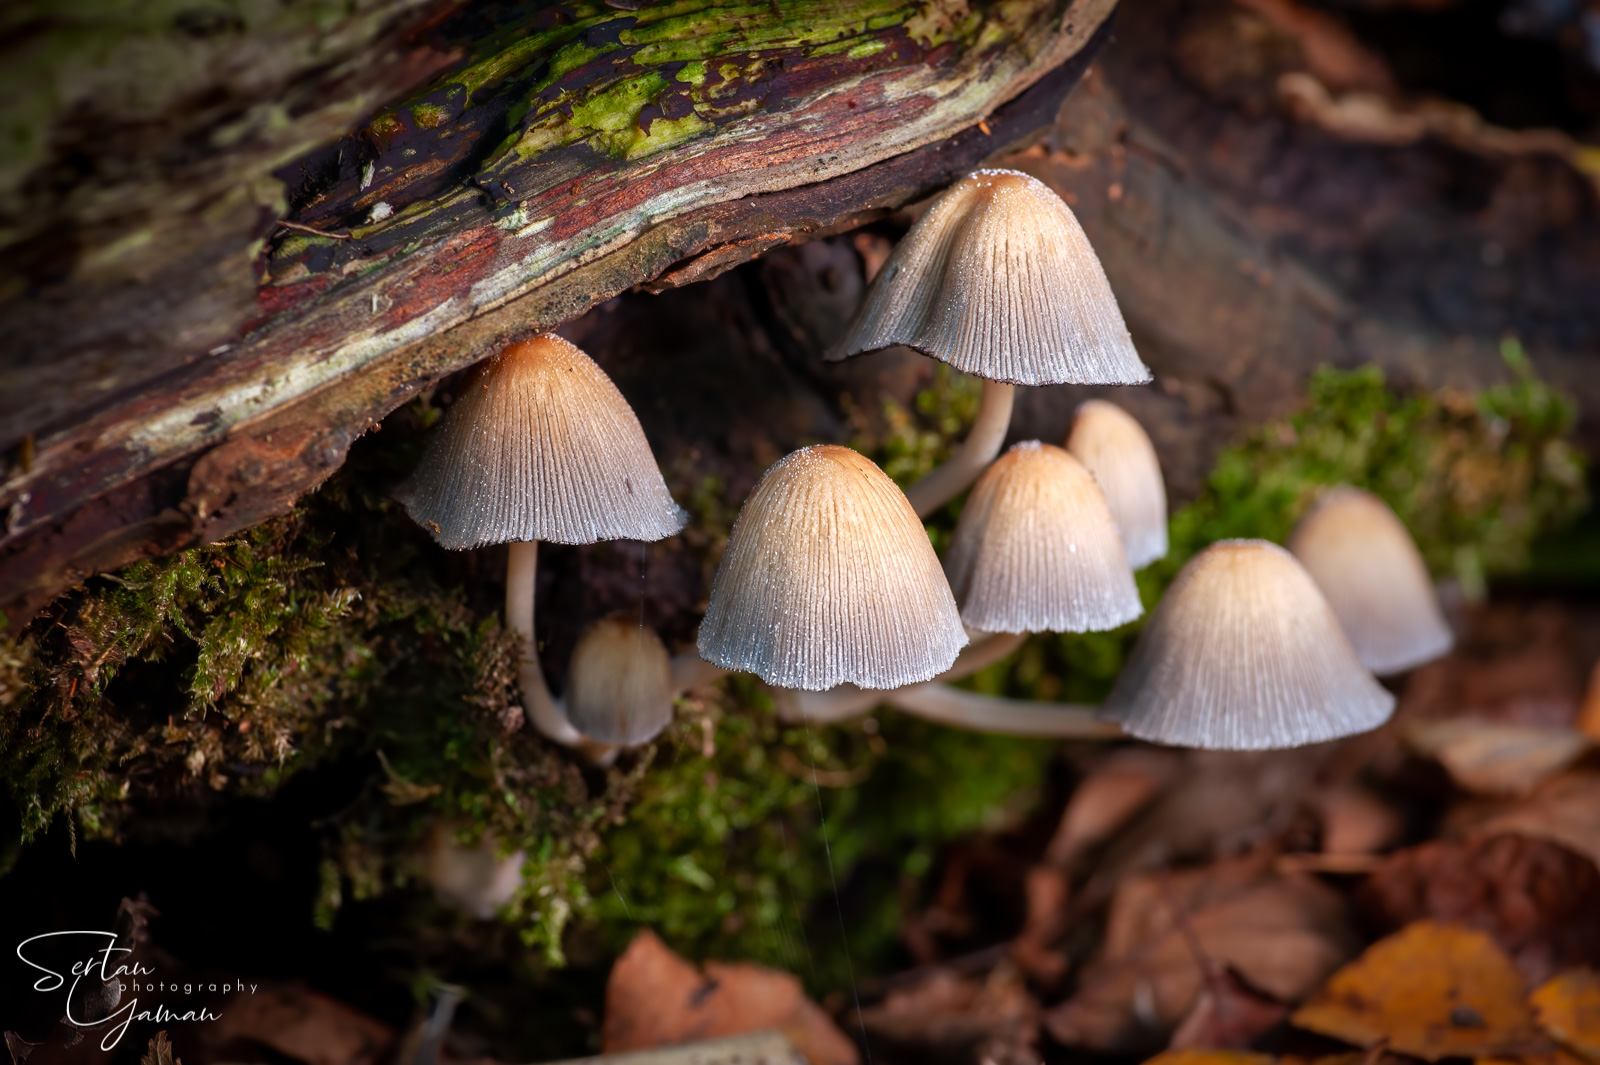
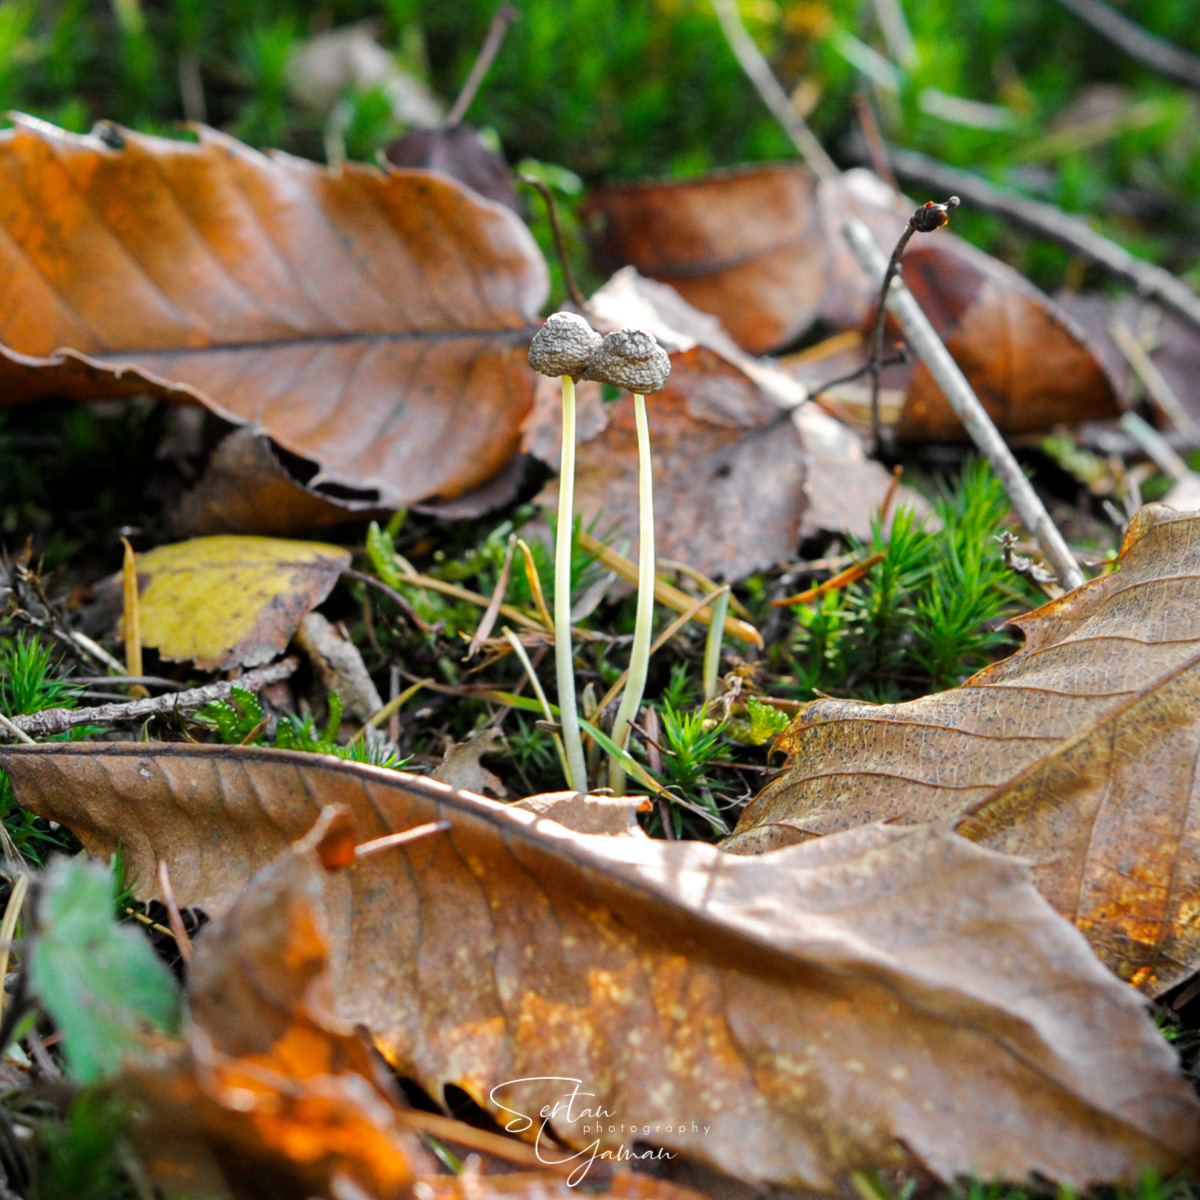
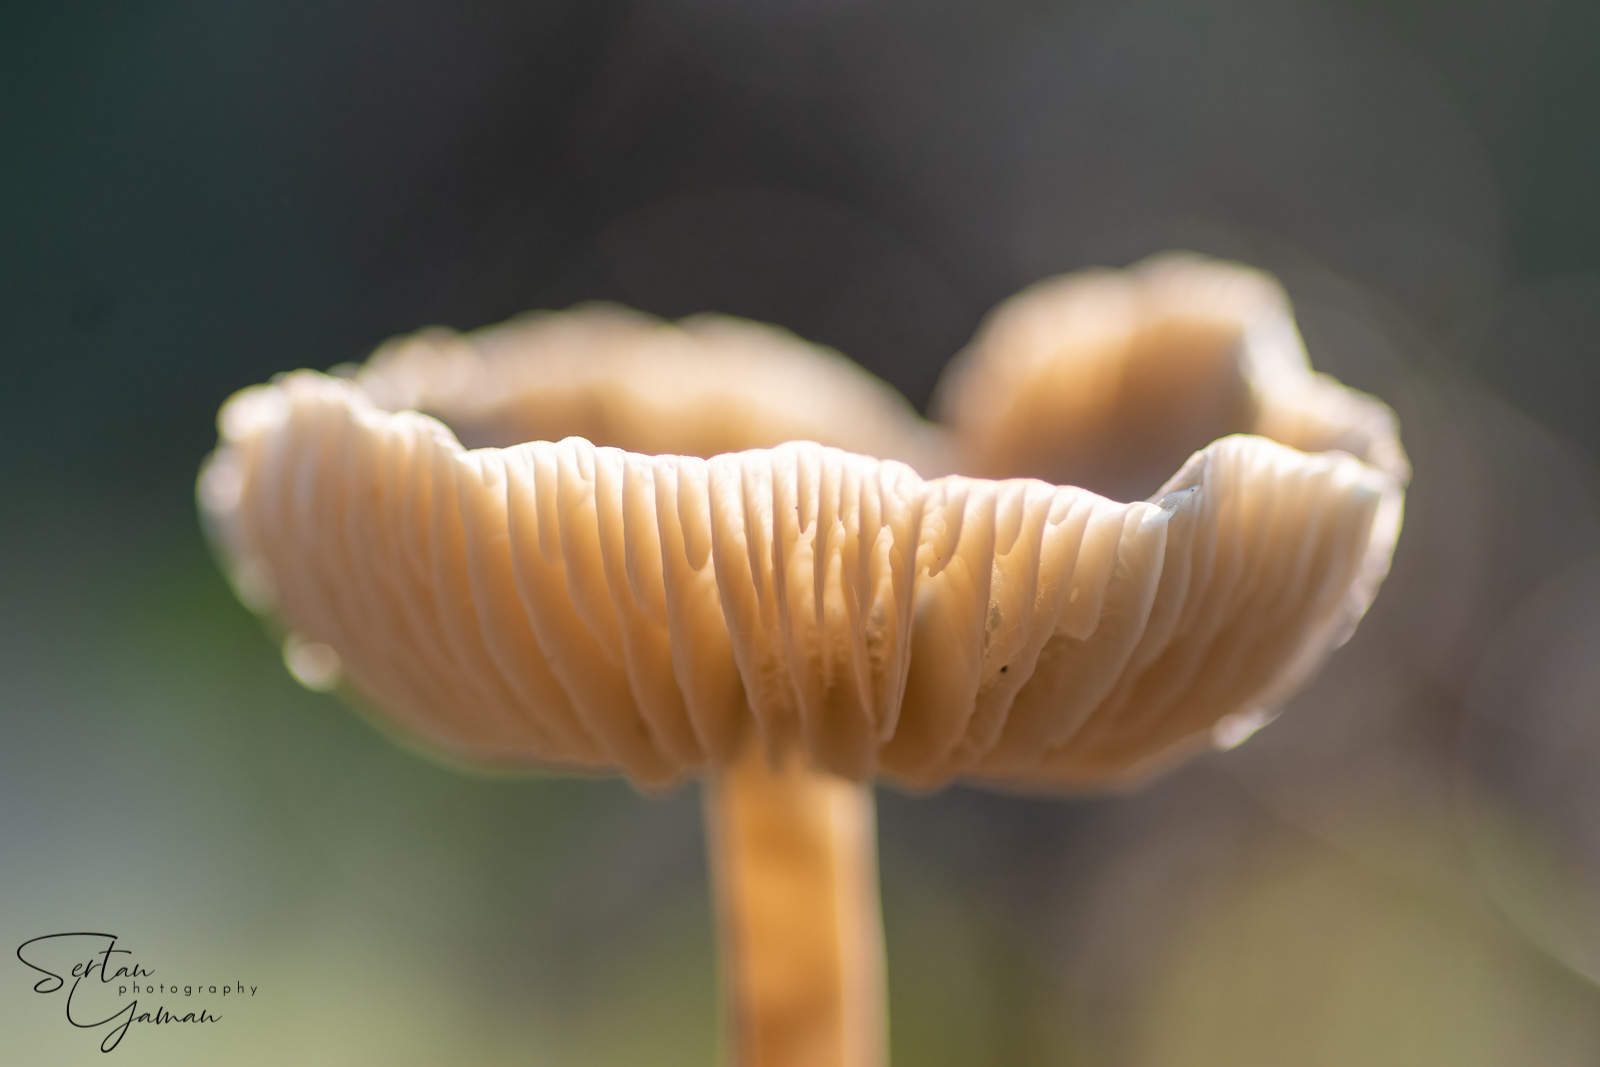
In mushroom photography, many times we do not go microscopically close to our subjects, so why we need the higher magnification ratios at all then? First to remedy the problem we mentioned in the intro the best practical way possible. Then we need it to take beautiful, tactile feeling detailed photos of mushrooms aligned perfectly inside its surrounding scenery with the help of the magnification factor. And also for the added benefits of macro lenses like better sharpness, colors and contrast with close-up photos. Using a macro lens when taking close-up photos makes a lot of difference in image quality and the overall feeling of the photo:
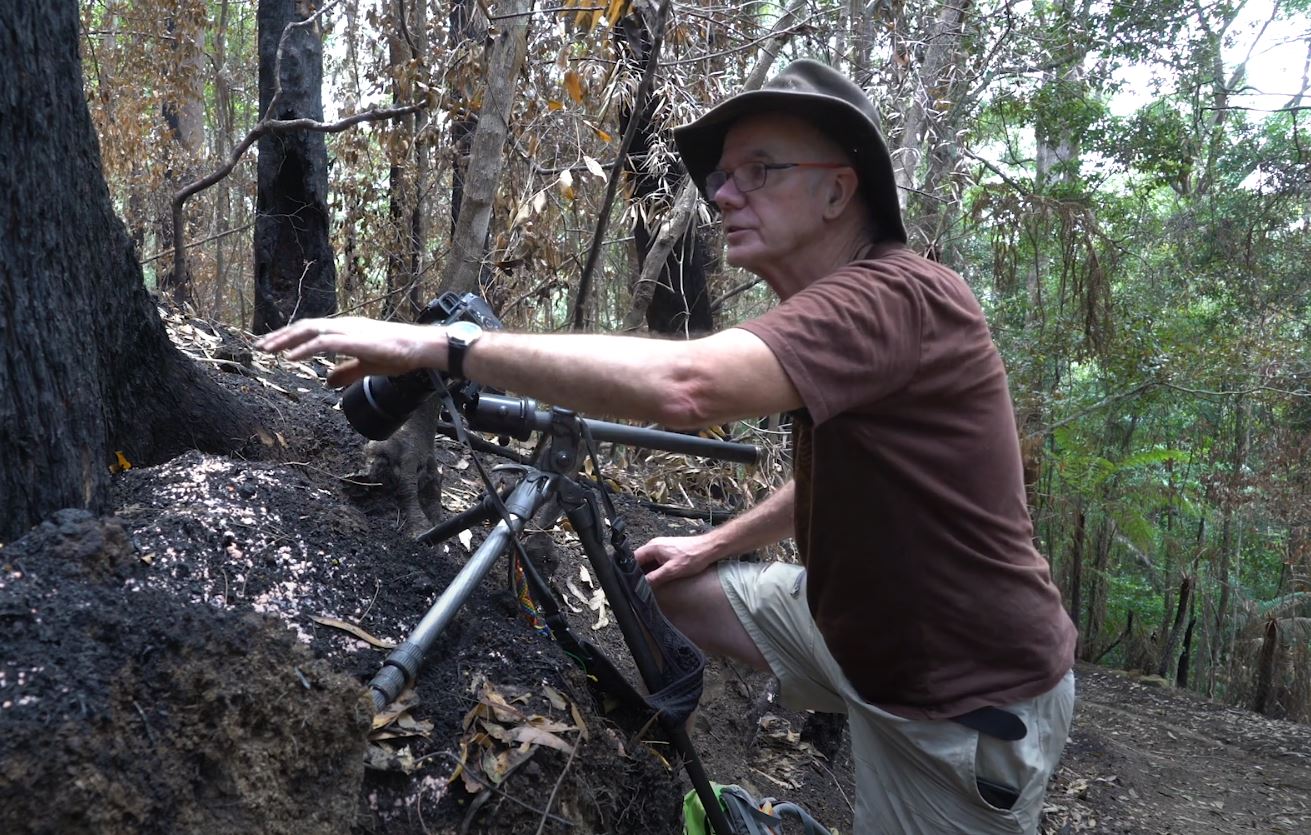
So what else we can tell about magnification? Well.. it also magnifies your camera&hand shake,.. and also quite drastically.. As a remedy, use higher shutter speeds and always use a tripod. So what shutter speed and which tripod? First of all, forget about the ancient 1/focal length rule when shooting macro, and go for much higher speeds than your everyday photography. For example with a 100mm macro lens I would try to use 1/320 or higher handheld, much less to 1/60 using a tripod. Then you need to increase your ISO to correct your exposure introducing extra noise and artifacts. However many modern cameras today can handle higher ISO quite well and you can use denoisers on edit phase like I use Topaz Denoise AI (sponsored affilate link) to succesfully clean my high ISO mushroom photos. For a tripod, you may begin with a gorillapod style tripod like I did, but the legs of these get softer in time and make it annoying to setup.. So a mini sturdy macro tripod would be your next option. If you get more serious with macro photography, you may get a bigger tripod with adjustable horizontal arm option, like the one famous mushroom photographer Stephen Axford has:
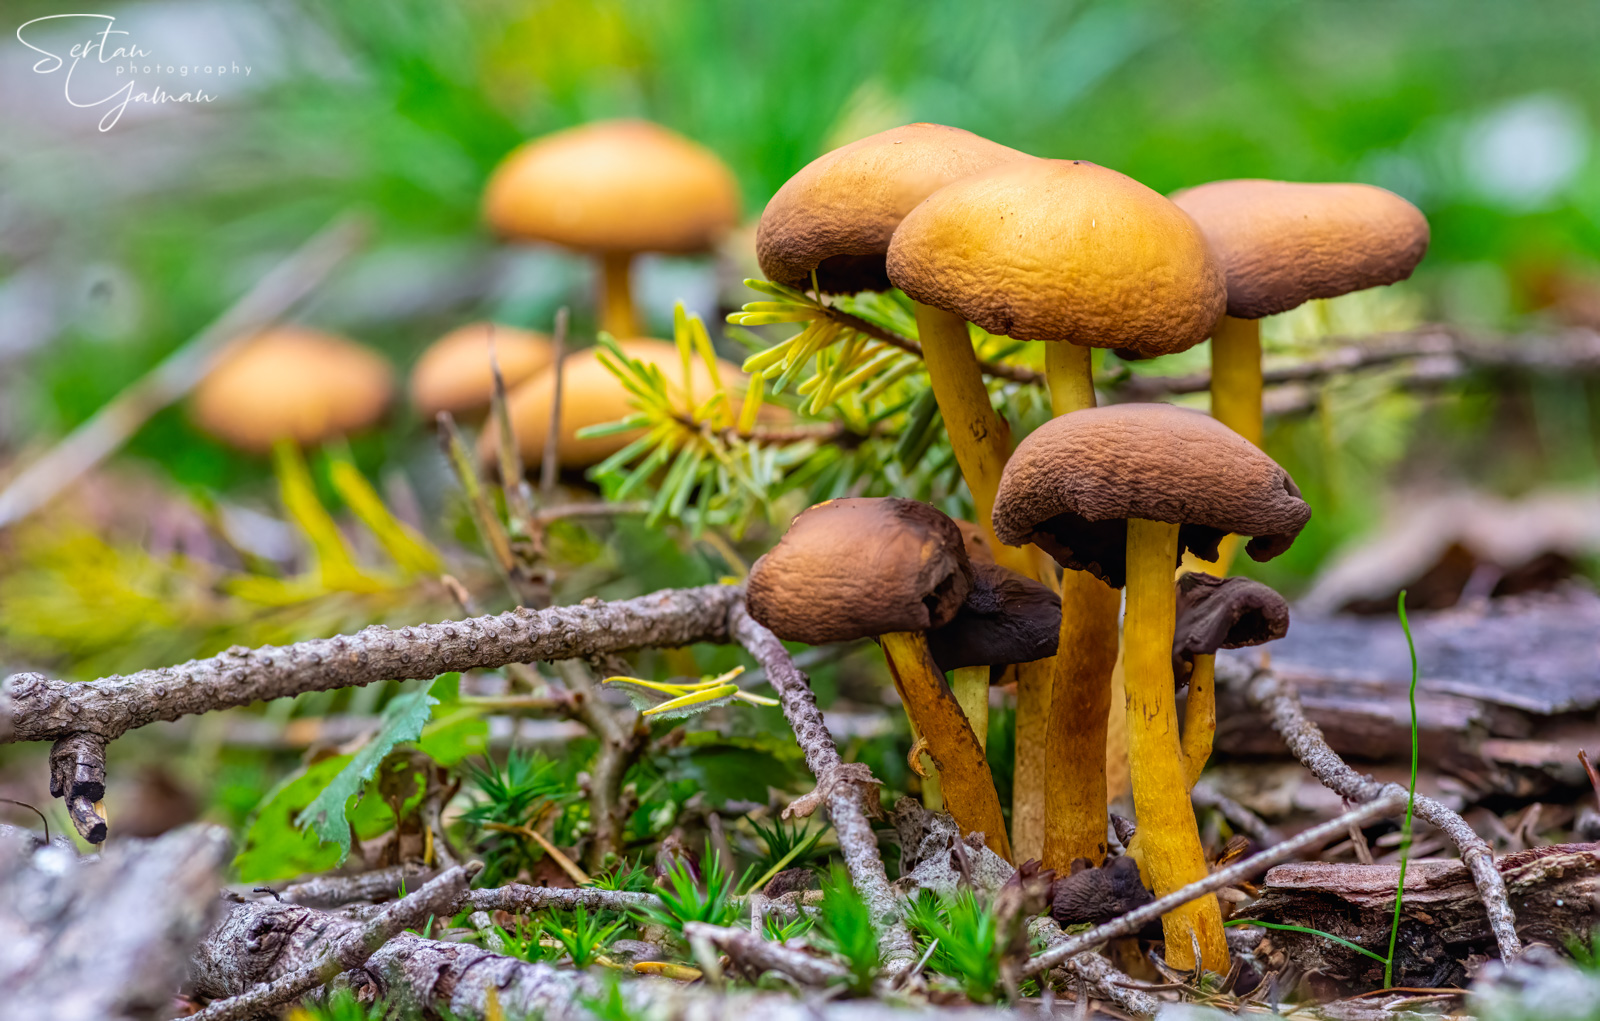
Next let's talk about depth of field. As you know from your photography basics course, depth-of-field gets more shallow as you get closer to your subject causing a pretty blurry background called 'bokeh'. And what happens if you get much more closer to your subject using a macro lens? Well.. then it gets much more shallow and much more blurry, however not much more pretty.. So it is definitely a challenge to overcome for us. As a remedy we can close down our aperture and increase the depth-of-field, however this also decreases the light intake and will degrade the sharpness of the image because of the diffraction effect especially if there are bright light sources in the background. And it will also reduce our beautiful blurry background 'bokeh' effect. I use generally f8-16 to achieve a greater depth-of-field but a macro lens can do f22 as well.
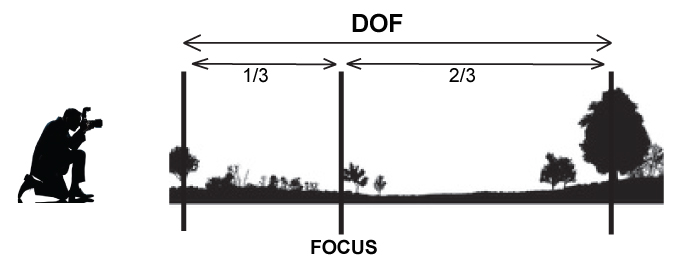
And where to focus? Should we focus in the middle of our subject so its back and front would be equaly sharp? No, because the zone of sharpness extends much more to the back of the focus point than the front, so the general practice is focusing to closest 1/3th point of the subject to include the subject completely in the sharpness zone, then 1/3 of the front and 2/3 of the back will be sharp including most of the subject in the sharpness zone.
The ultimate way of tackling with depth-of-field problems is called focus stacking. Focus stacking means taking multiple images of your subject by focusing to a different area everytime to include all parts of it, then using a computer software like Photoshop or Helion Focus to combine these images into a single image with a completely focused sharp subject.
It requires quite a lot of patience taking the focus shifted photos and extra work merging these photos as well. So I am often too lazy with it.. Many times just including the leading portion of your subject and blurring the rest is acceptable. However if you like to take your mushroom photography to a greater level, you should definitely invest on practicing focus stacking.
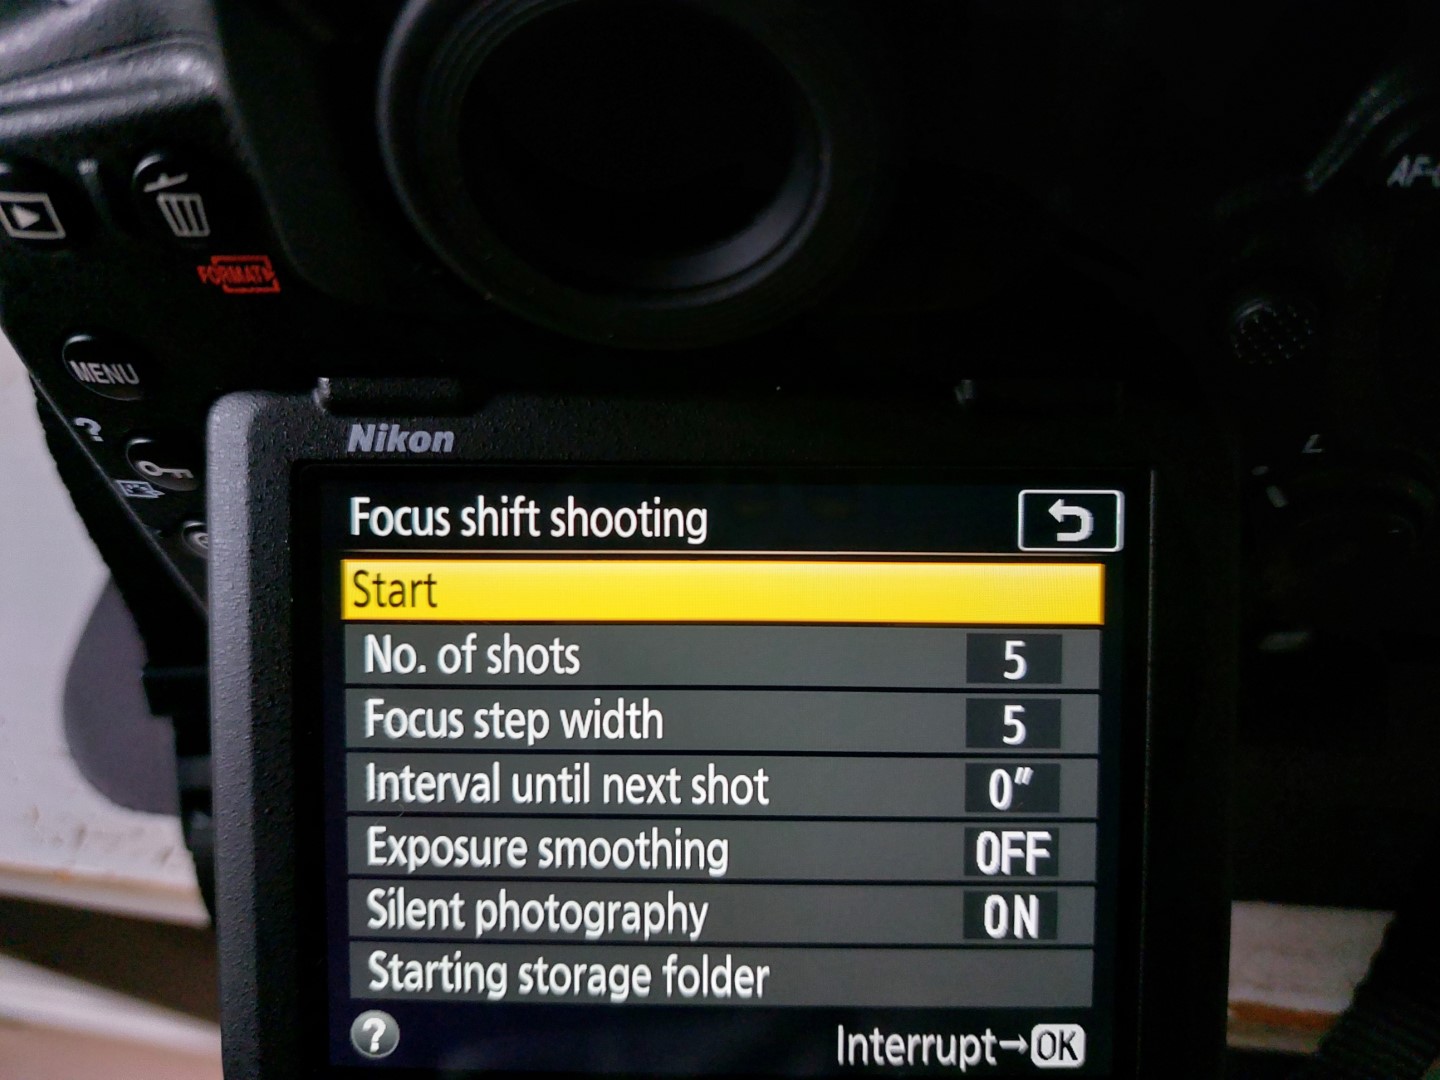
Some cameras do it automatically inside the camera itself. You just mark the subject you want to be in focus on the touch screen and then the magic happens, it stacks the focus automatically. However I find the resulting image not a great quality one. Nikon cameras nowadays have a built in focus shifting feature with AFS motor lenses. It is a handy feature however the focus steps and distance are not clearly defined in the menus (1-10 something?) and need trial and error with different values to acquire wanted result. So if I do it, I always go for manual focusing and doing it by hand, simple and straightforward.
How to choose one
There are so many options when it comes to choose a macro lens, from cheaper manual ones to high tech new ones with shiny specs. Nearly all of them are good and I myself never encountered a not nice macro lens yet. You can even use old film age ones and if you use old M42 mount ones on Nikon camera bodies, you may even benefit from some extra magnification. The most important aspect to consider when buying one is "Not falling into any kind of marketing tricks".. Let's explain a bit more :
- Focal length: Just like standard prime lenses, there are also wide angle and long macro lenses. Generally wide angle ones are used for document-artwork copying purposes since you get a wider image for the same working distance. For mushroom photography I find focal lengths 70-100mm ideal, shorter than that you need to get much closer to mushrooms, which may be difficult but can result in a beautiful wide angle scenery if you could do so. Lenses longer than that are mainly used for insect-lifeform photography so you do not scare the subject while photographing it. But the price tags of these can easily scare you instead..
- Sharpness and contrast: There are quite a lot of macro lens options today that specify astronomically good sharpness levels with them. However there is one thing you need to be careful with these especially for your mushroom photography: performance of the lens when shooting against strong light sources like the sun.. In your mushroom photography many times you will be shooting against the sun or light rays coming from above the trees. Some of those supersharp lenses are measured in optimum studio conditions and as soon as you point them towards the sun, the image loses all its sharpness and contrast and becomes a newpaper print. So I strongly advise studying it's performance tests, also performance against strong lights (like flaring) before you buy a macro lens.
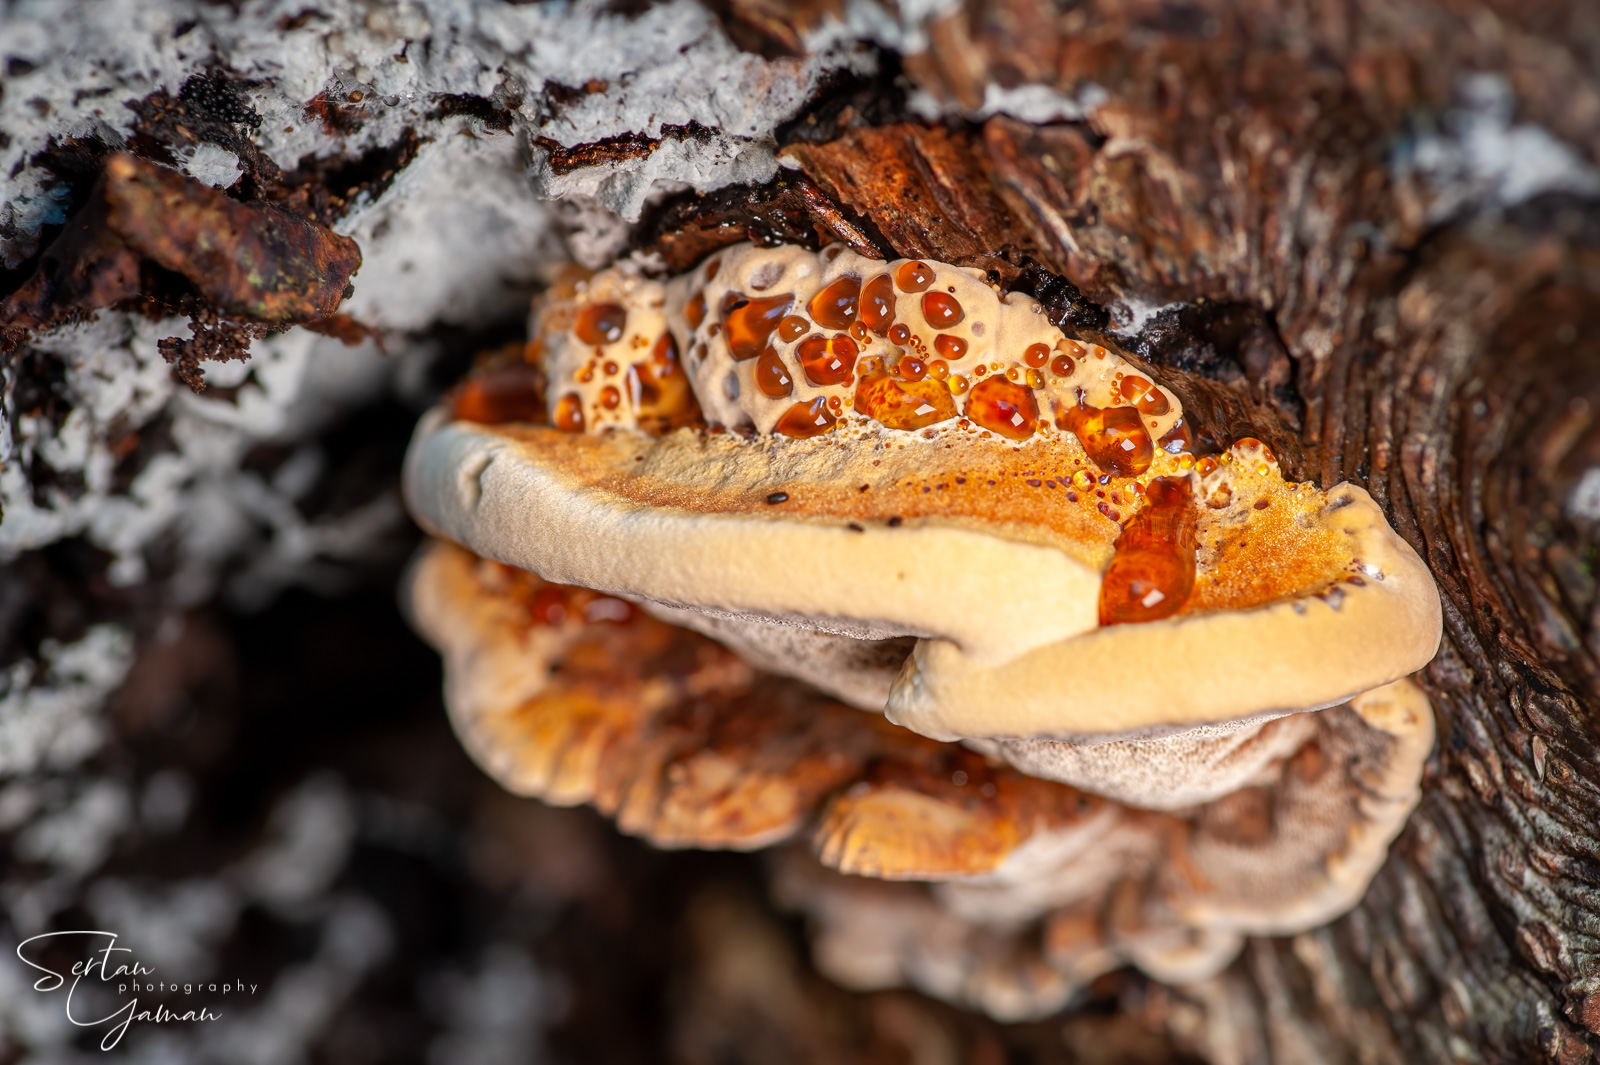
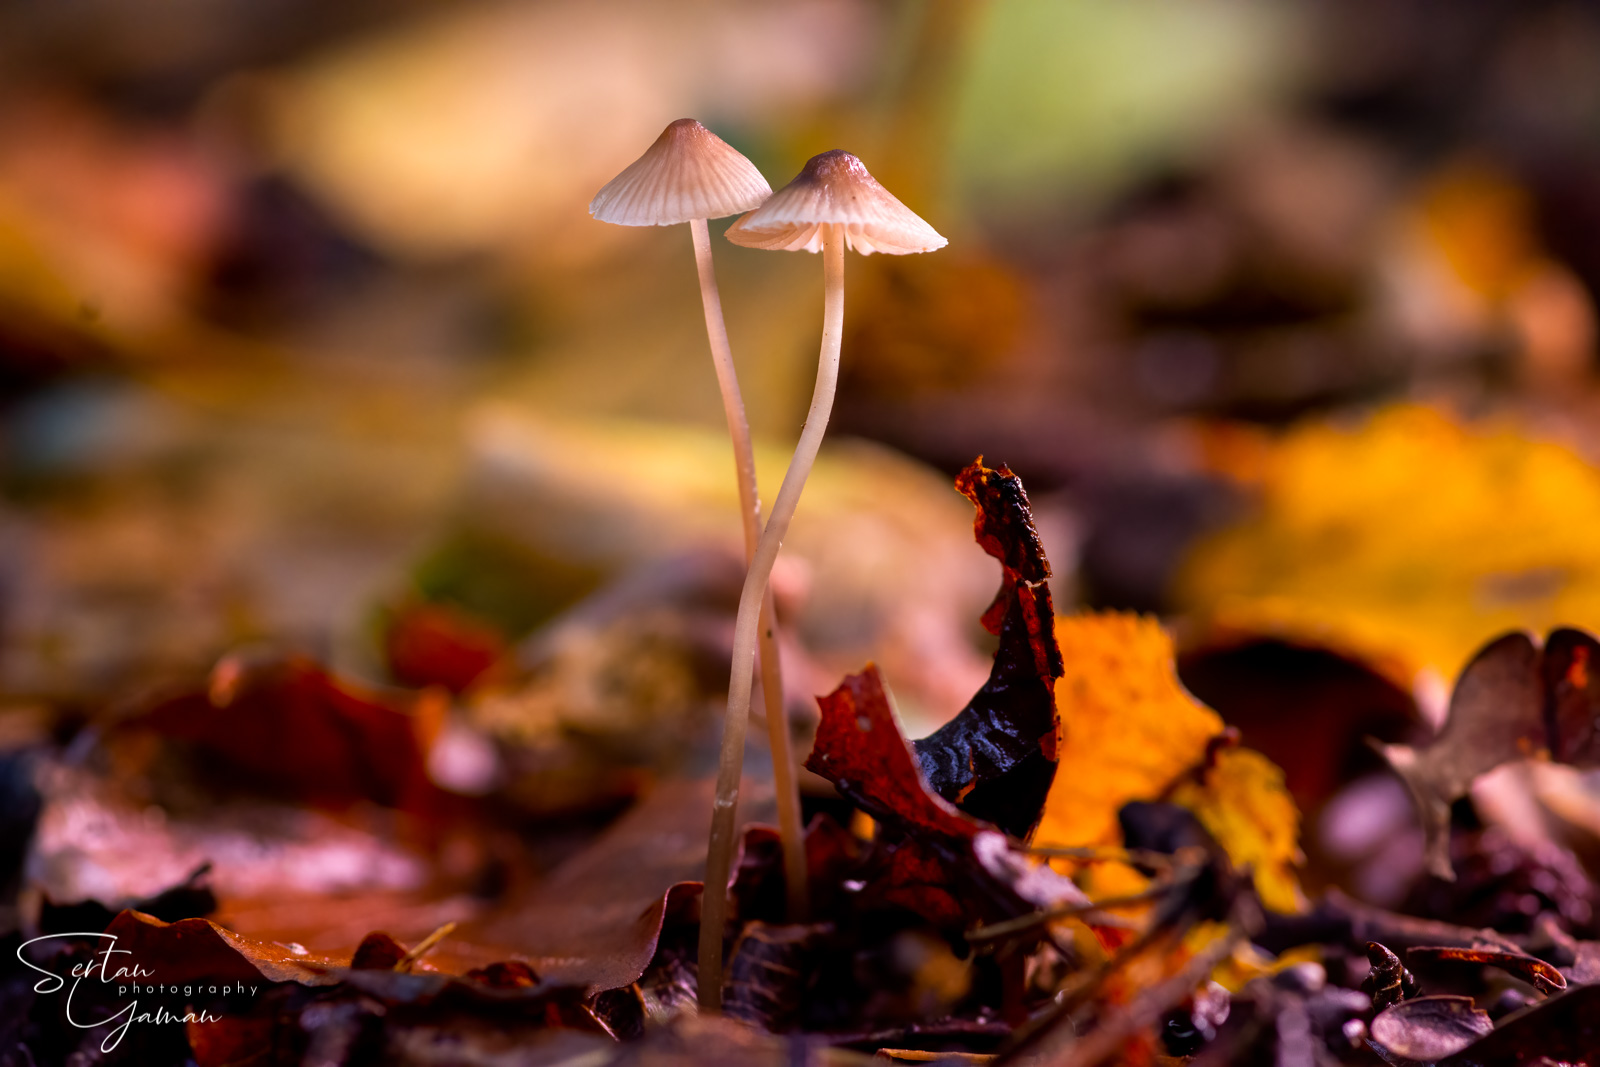
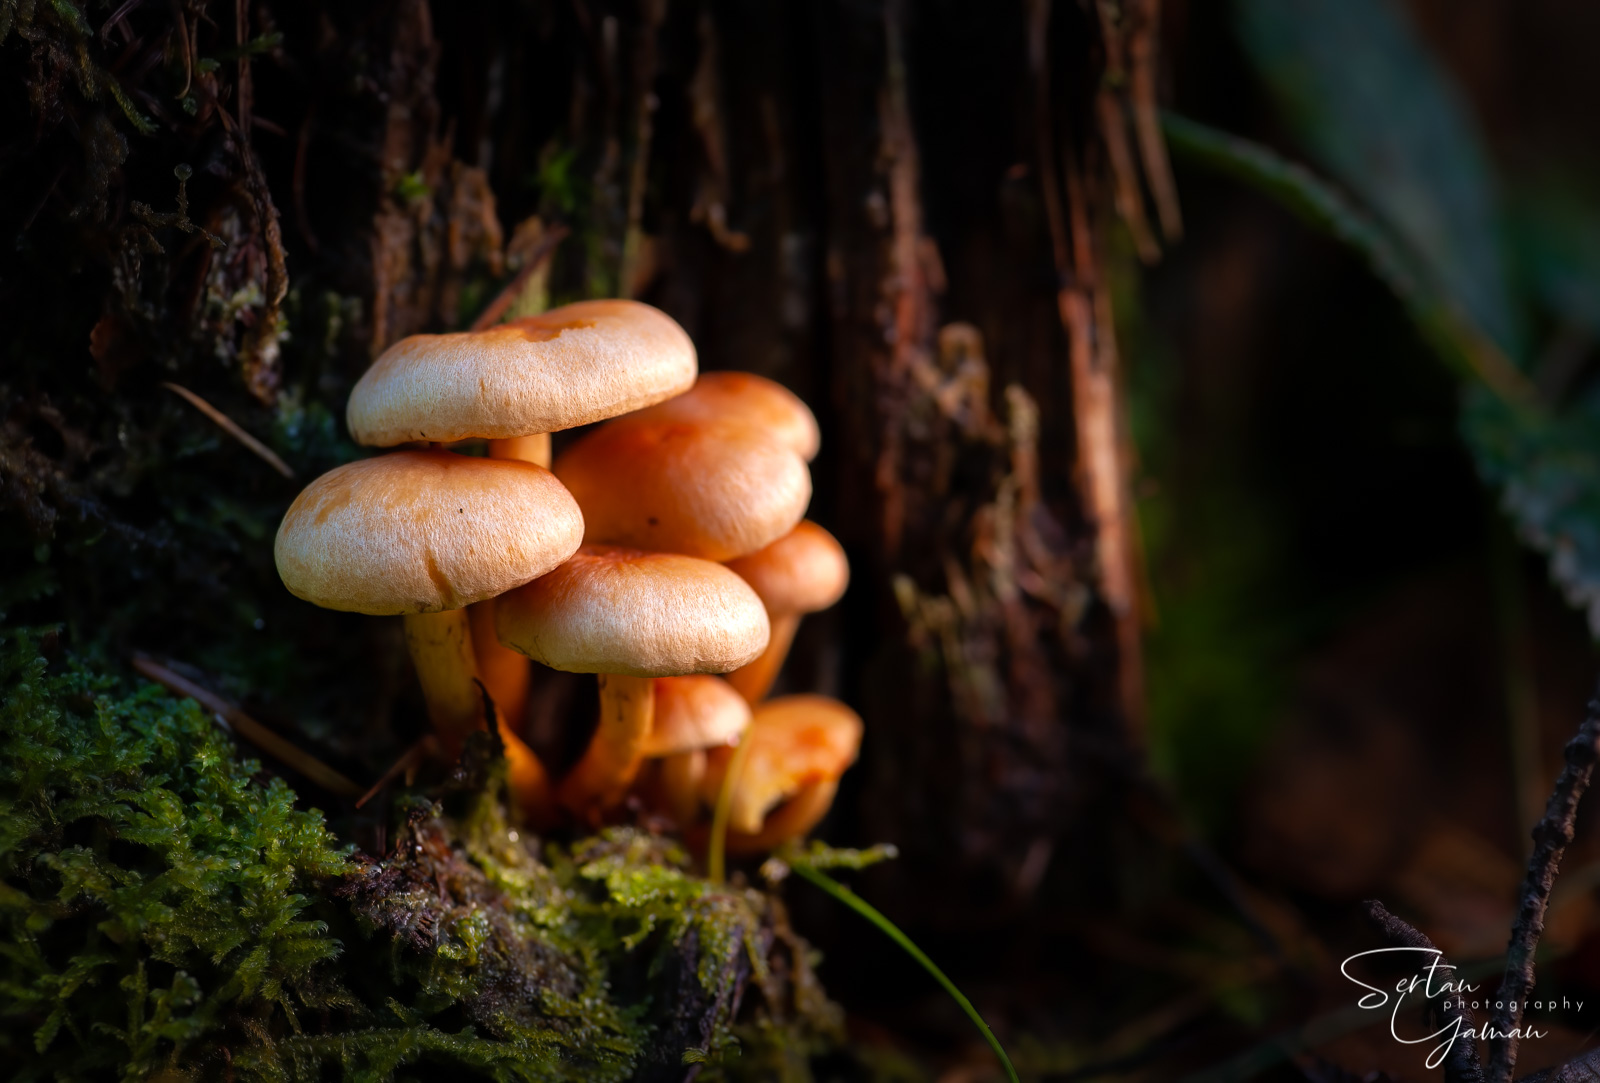
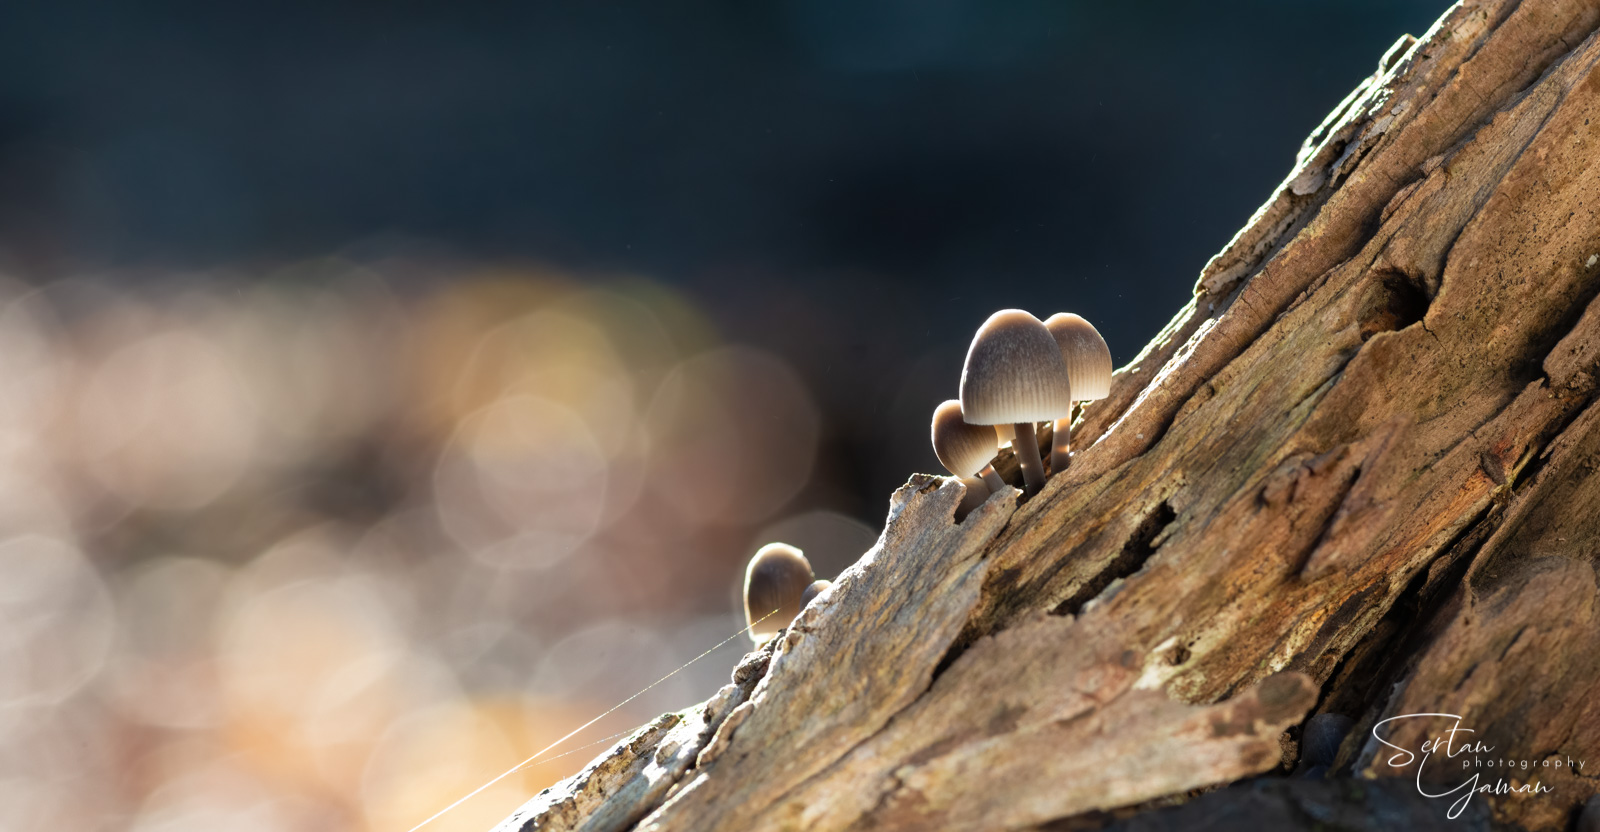
- Aperture: As mentioned in previous topic, to avoid very shallow depth of field you will find yourself using stopped down apertures like f16-22 when taking macro photos (if you do not intend to focus stack them afterwards). So it is important to check the smallest aperture available of your macro lens if you plan to use this stopping down technique. However in mushroom photography you sometimes may need to use apertures like f:4 or f:2.8 to benefit more light entering into your lens or create artistic depth-of-field effects. Also keep in mind the 'effective aperture' when using macro lenses. As you focus closer with your macro lens, magnification will cause an effect like the aperture is closed down 1-2 stops more than the aperture you set on the macro lens. So if you use a f2.8 lens on 1:1 magnification, it will act as closed down to f5.6 instead.. So a lens with a wider maximum aperture is welcome considering these situations. Lenses with more aperture blades are also welcome since they will create a more pleasant bokeh circles in bright out of focus areas. Like you see in this image:
- AF speed and performance: Today's cameras have great AF abilities, however focusing to a subject in such high magnification levels is quite a difficult job for even the best cameras. Also images get significantly darker as you focus closer to a subject because you effectively limit the light coming into your lens. So in macro photography world, focusing your lens manually is not a bad old-school thing and used a lot by many macro shooters. I would not bother with the AF performance of a macro lens but some cameras provide in camera focus stacking feature with AF motor lenses. Only then it could be a nice thing to have.
- Portrait options: Many macro lenses can also be used as nice portrait lenses. In fact some of them are great on portrait being even better than well known portrait lenses. You could check if your lens performs good at long distances as a portrait lens, then you will have a double purpose gear.
- VR(IS)?: High magnification rates also magnify your hand shake, so should we buy a lens with VR on it to be able to take macro photos handheld? No!; the VR feature on those lenses will help you only if you use them as portrait lenses on longer distances. But if you get closer, the VR will not work as good anymore. VR is something you switch and trust it corrects the camerashake so you can take handheld photos. If it does not work reliable or as you expect, then it is not trustable and useless. So far I have never seen a VR macro lens that can completely freeze the image on 1:1 magnification ratio holding it by hand.. If they invented one that i am not aware of, please feel free to comment below. Always use tripod to avoid camera shake and do not bother with VR in your macro lens. If you acquired one with VR, turn it off when using it with your tripod.