1-Sep-2020
How to take better mushroom photos 1 - Solving the light puzzle
(Revised: September 2022)
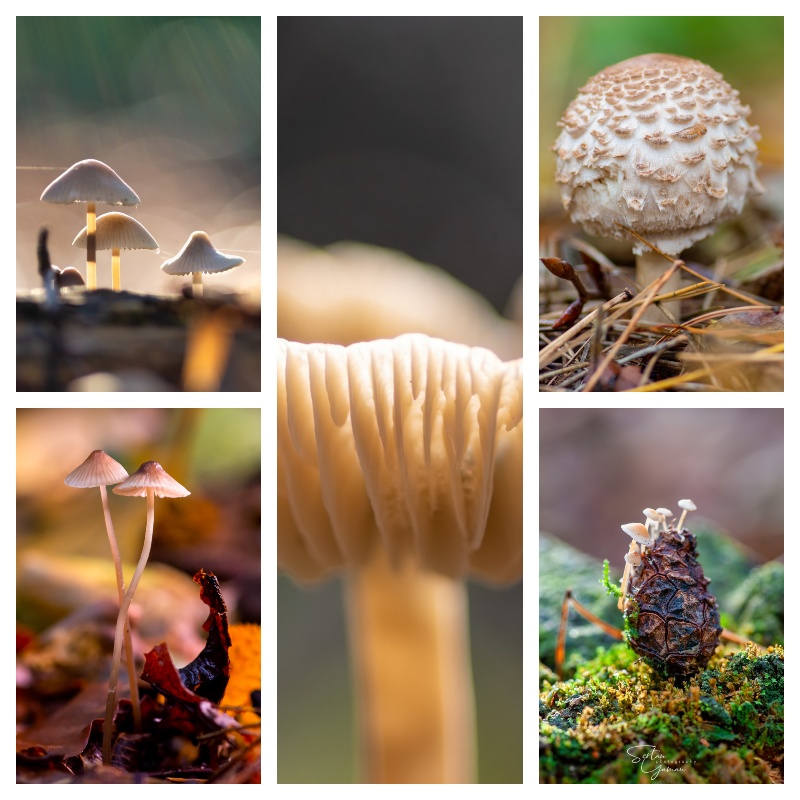
Autumn is slowly coming and we start to see beautiful mushrooms popping up in every corner of nature. However beautiful they may seem to your eyes, taking their photos could be challenging because they generally appear in places with the least optimal photographic conditions. In this blog post, I will give you some tips and examples on how to solve problems with lighting and get nice-looking autumn mushroom photos in various light conditions.
Using natural light
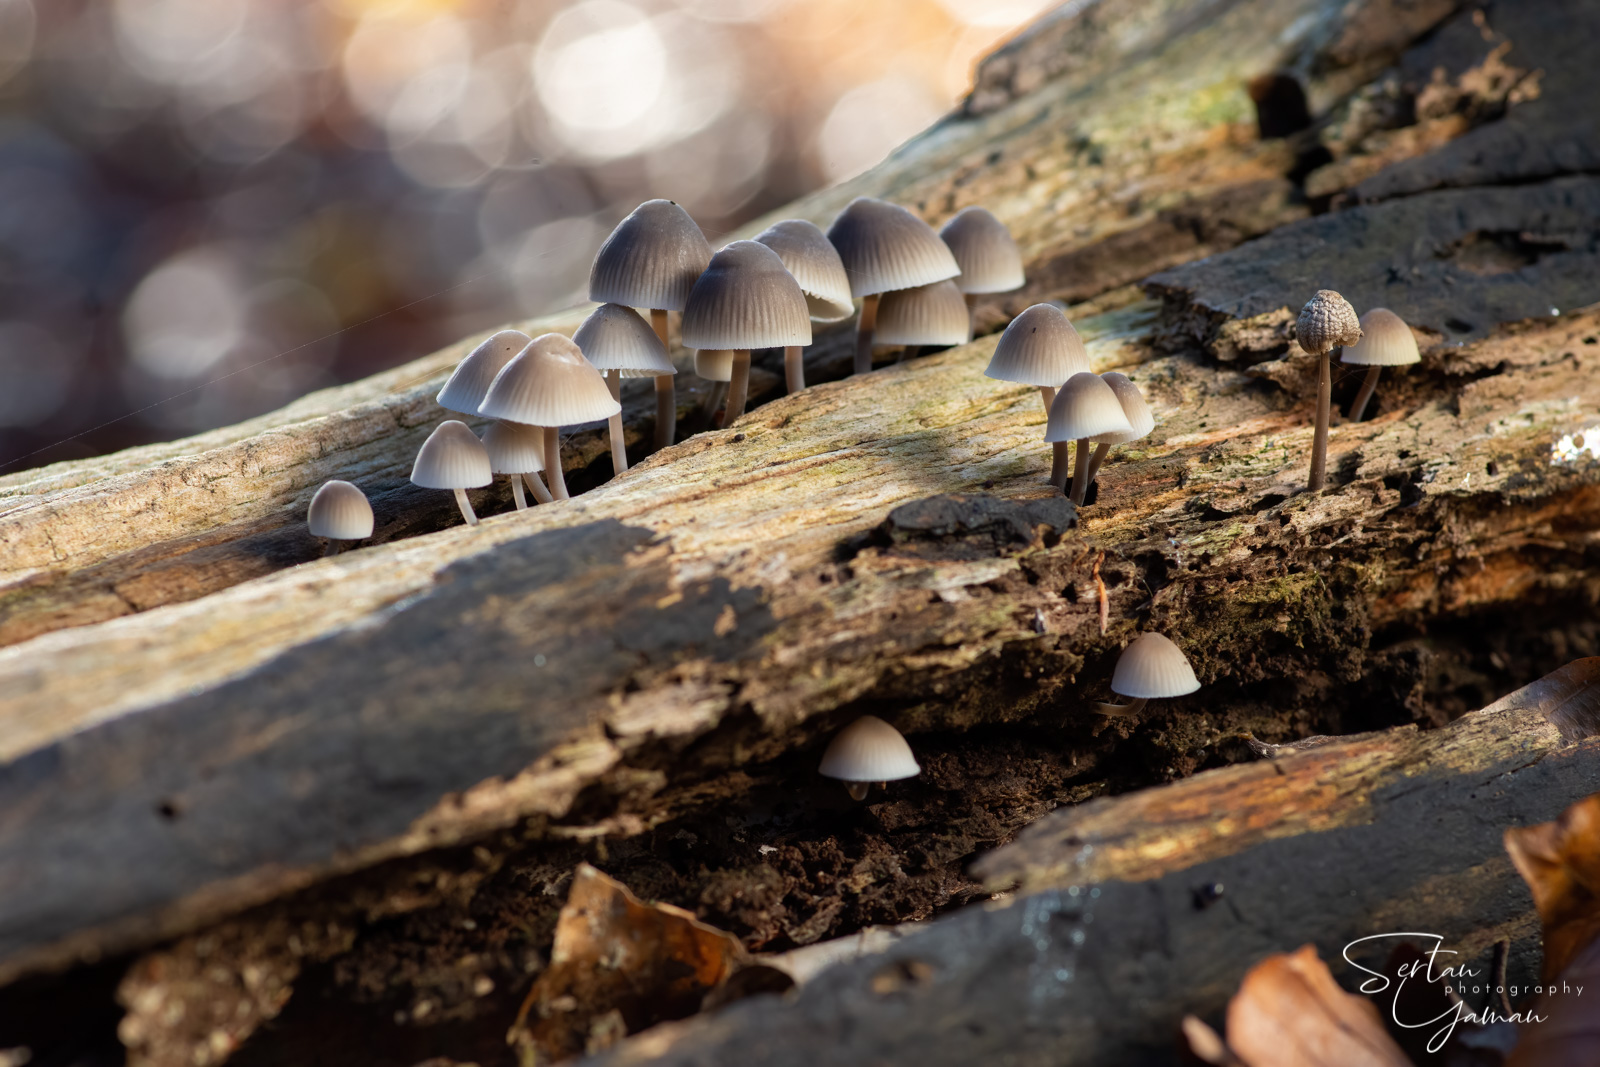
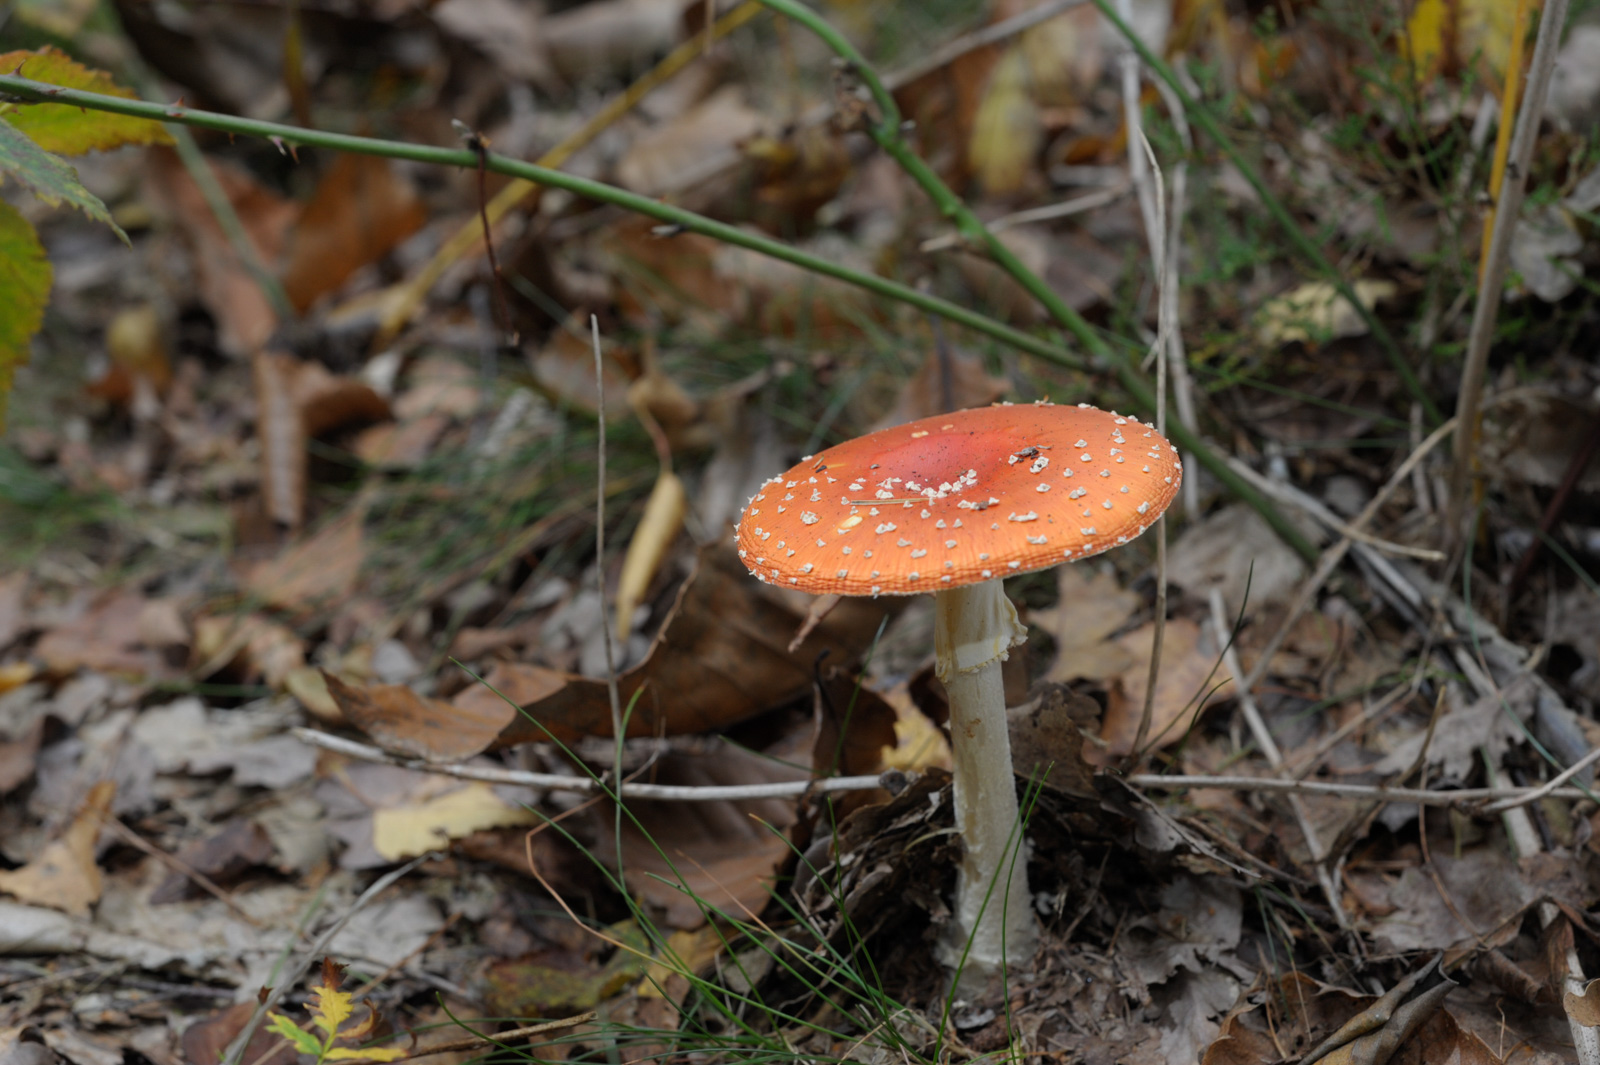
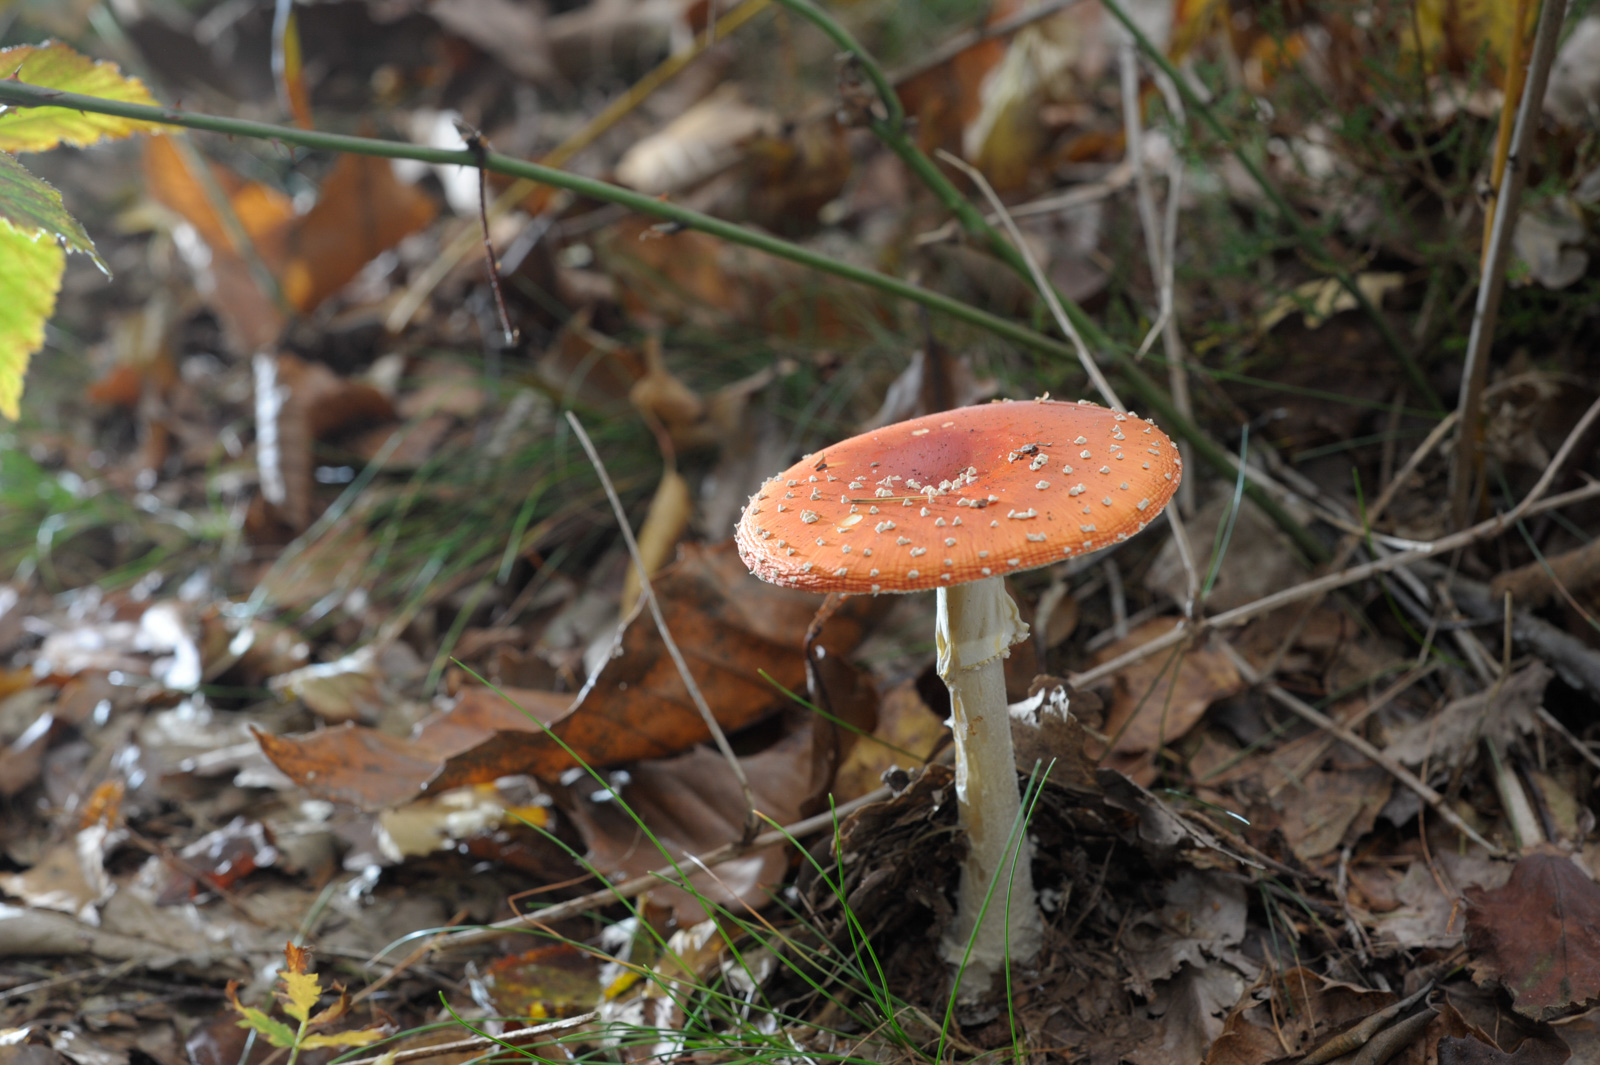
Almost always, the best way to solve the lighting of your mushroom photo is using the available beautiful natural light. However, this beautiful natural light is rarely available on grim autumn days and the place you photograph your mushrooms, on the dark forest floors.. A solution is if the mushrooms are attached to a wood or so, to move the mushrooms to a place with better light and take their photo there. This also helps you arrange your composition and choose a better background for them:
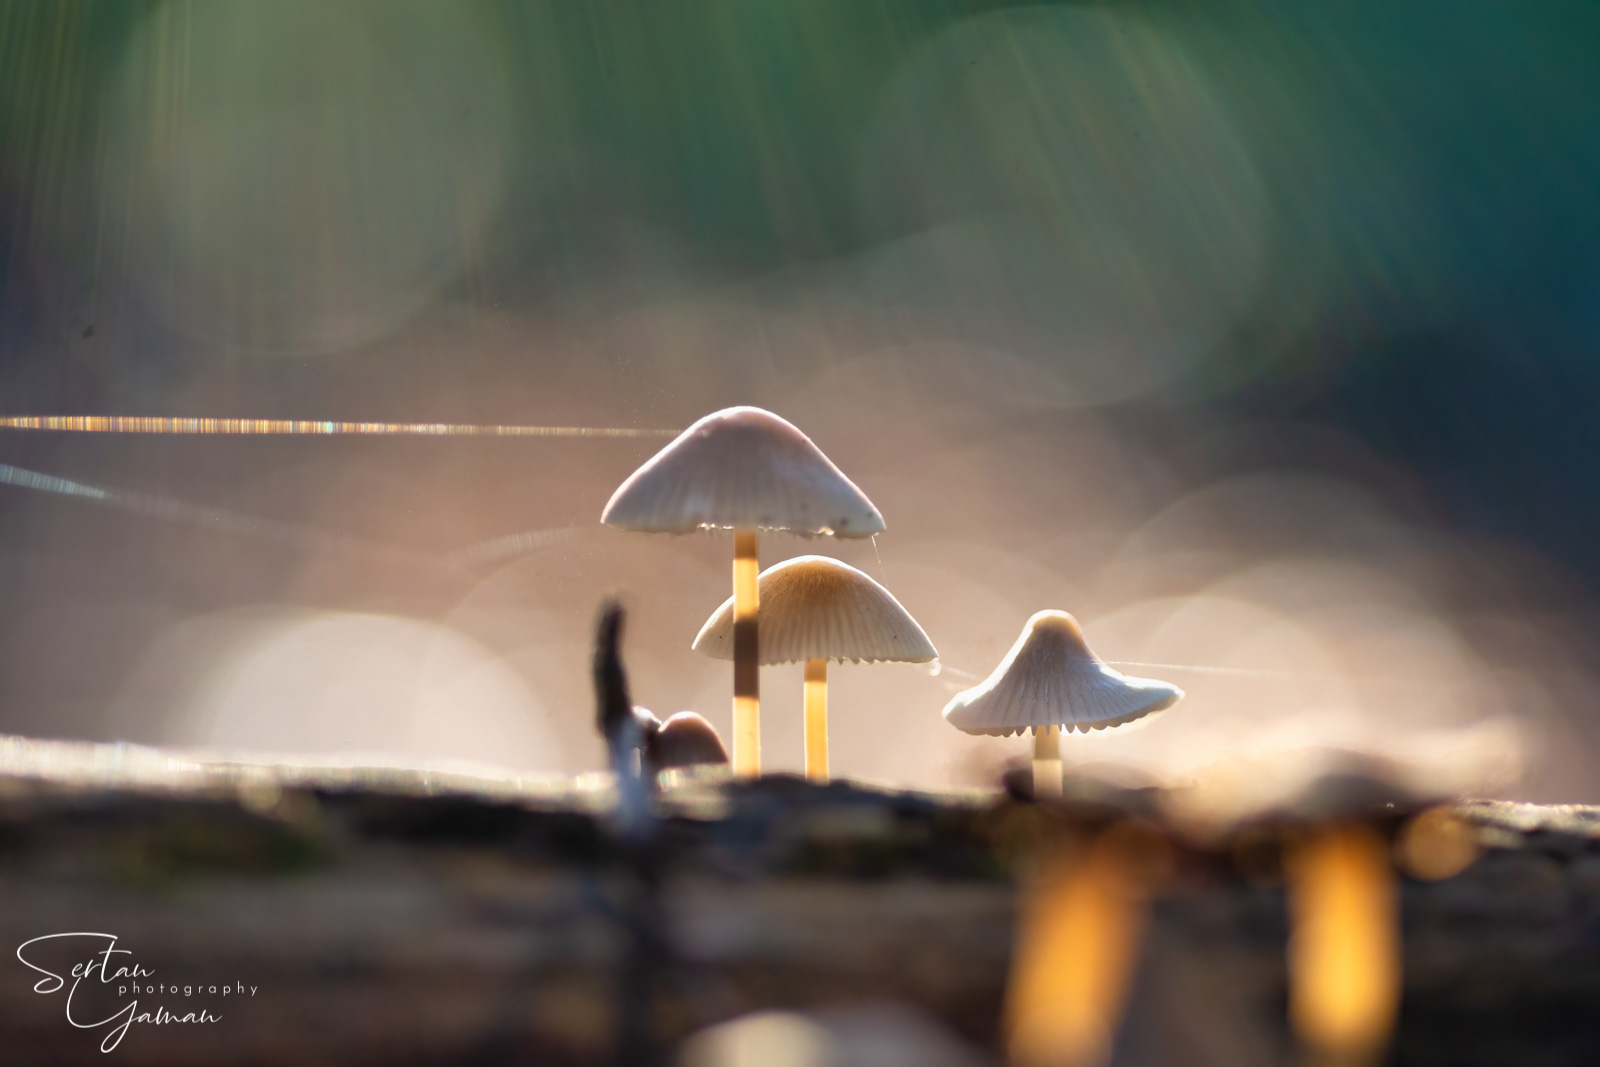
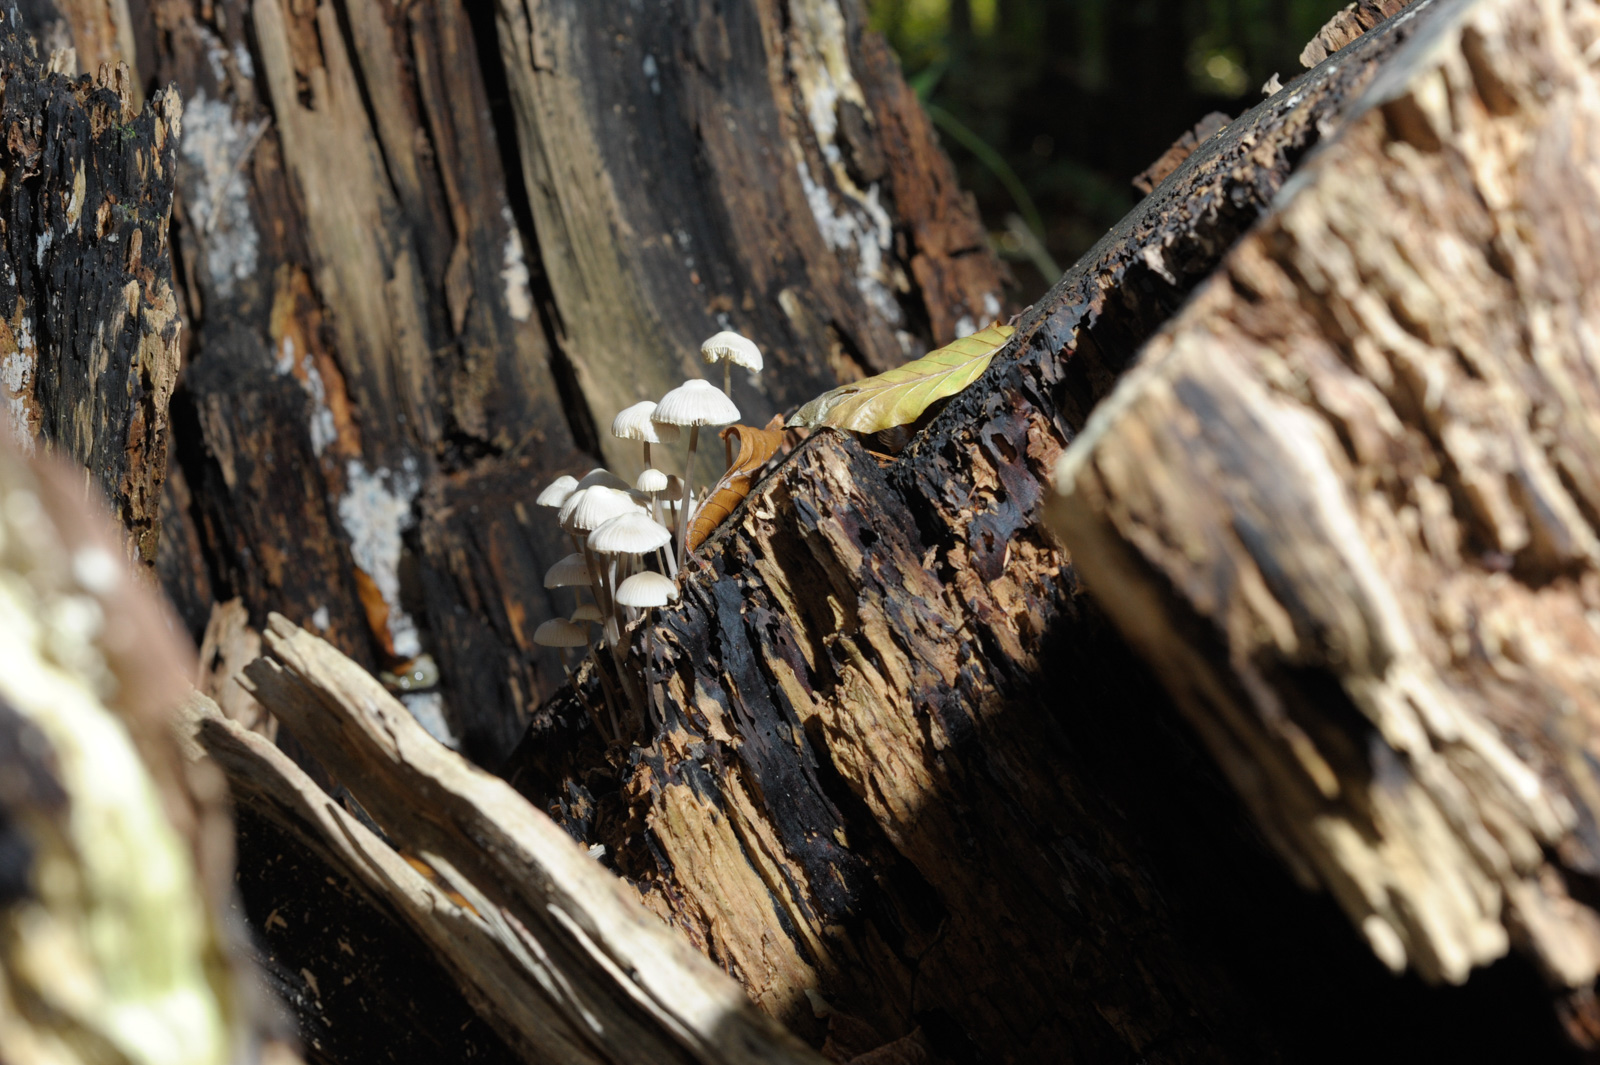
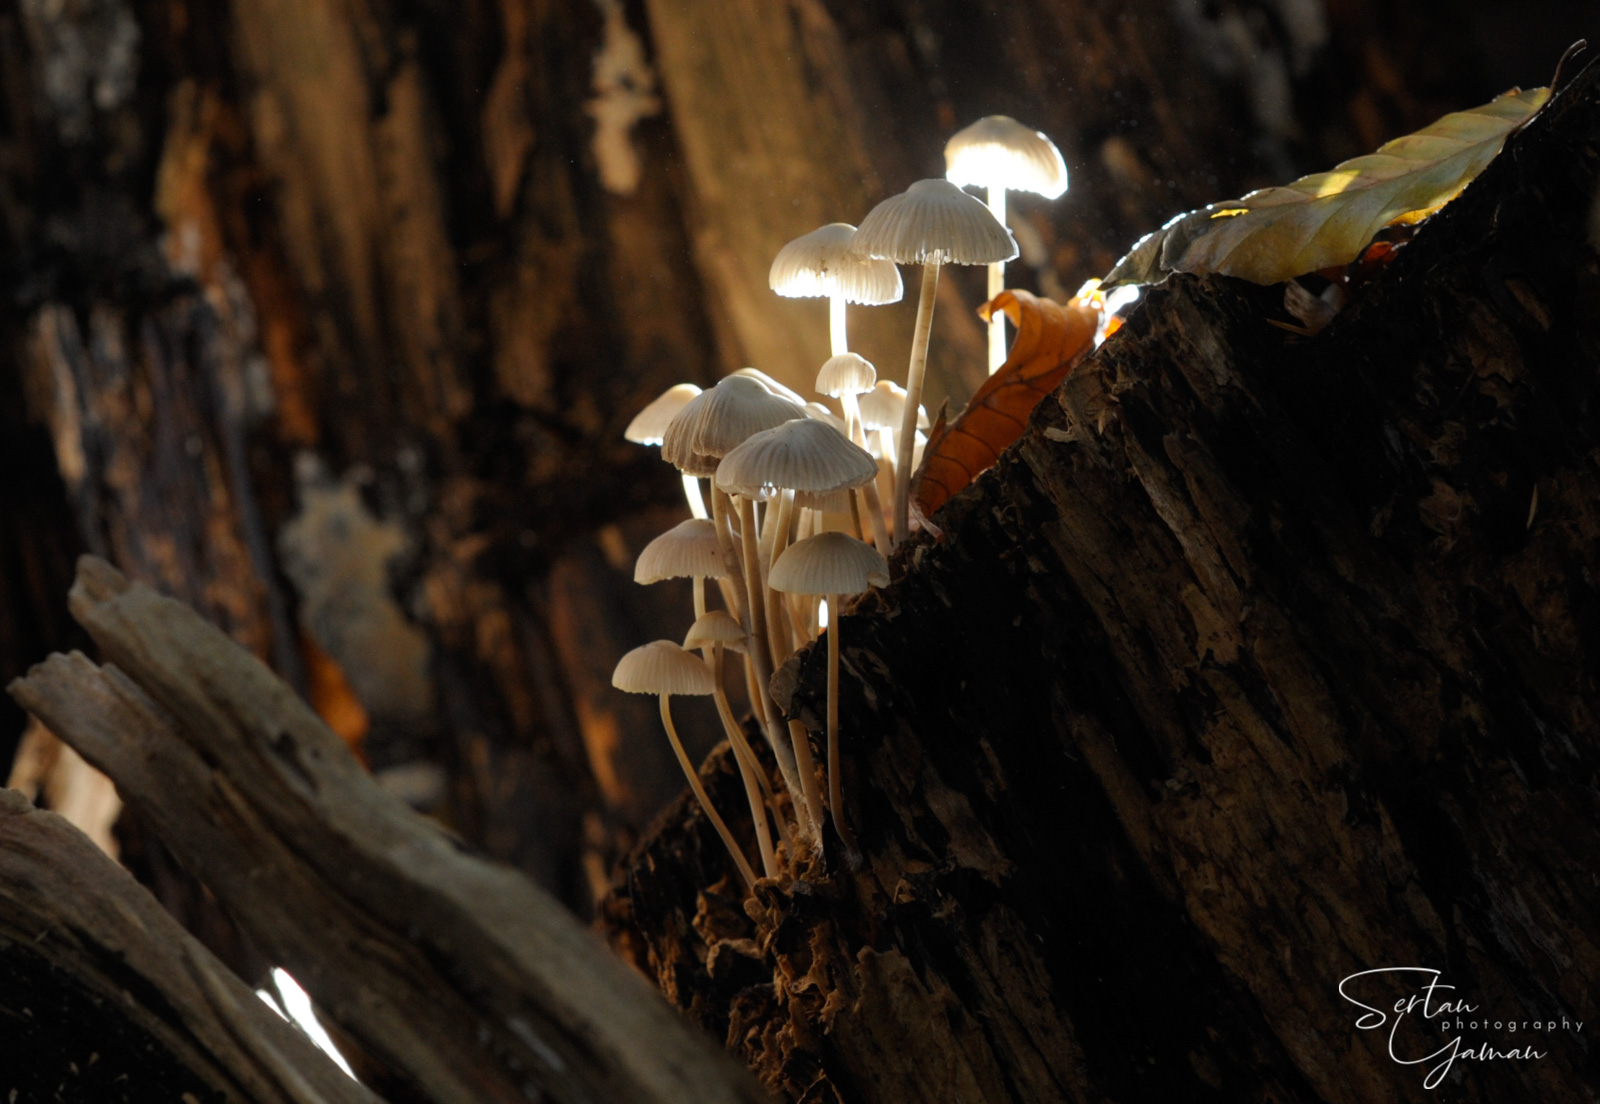
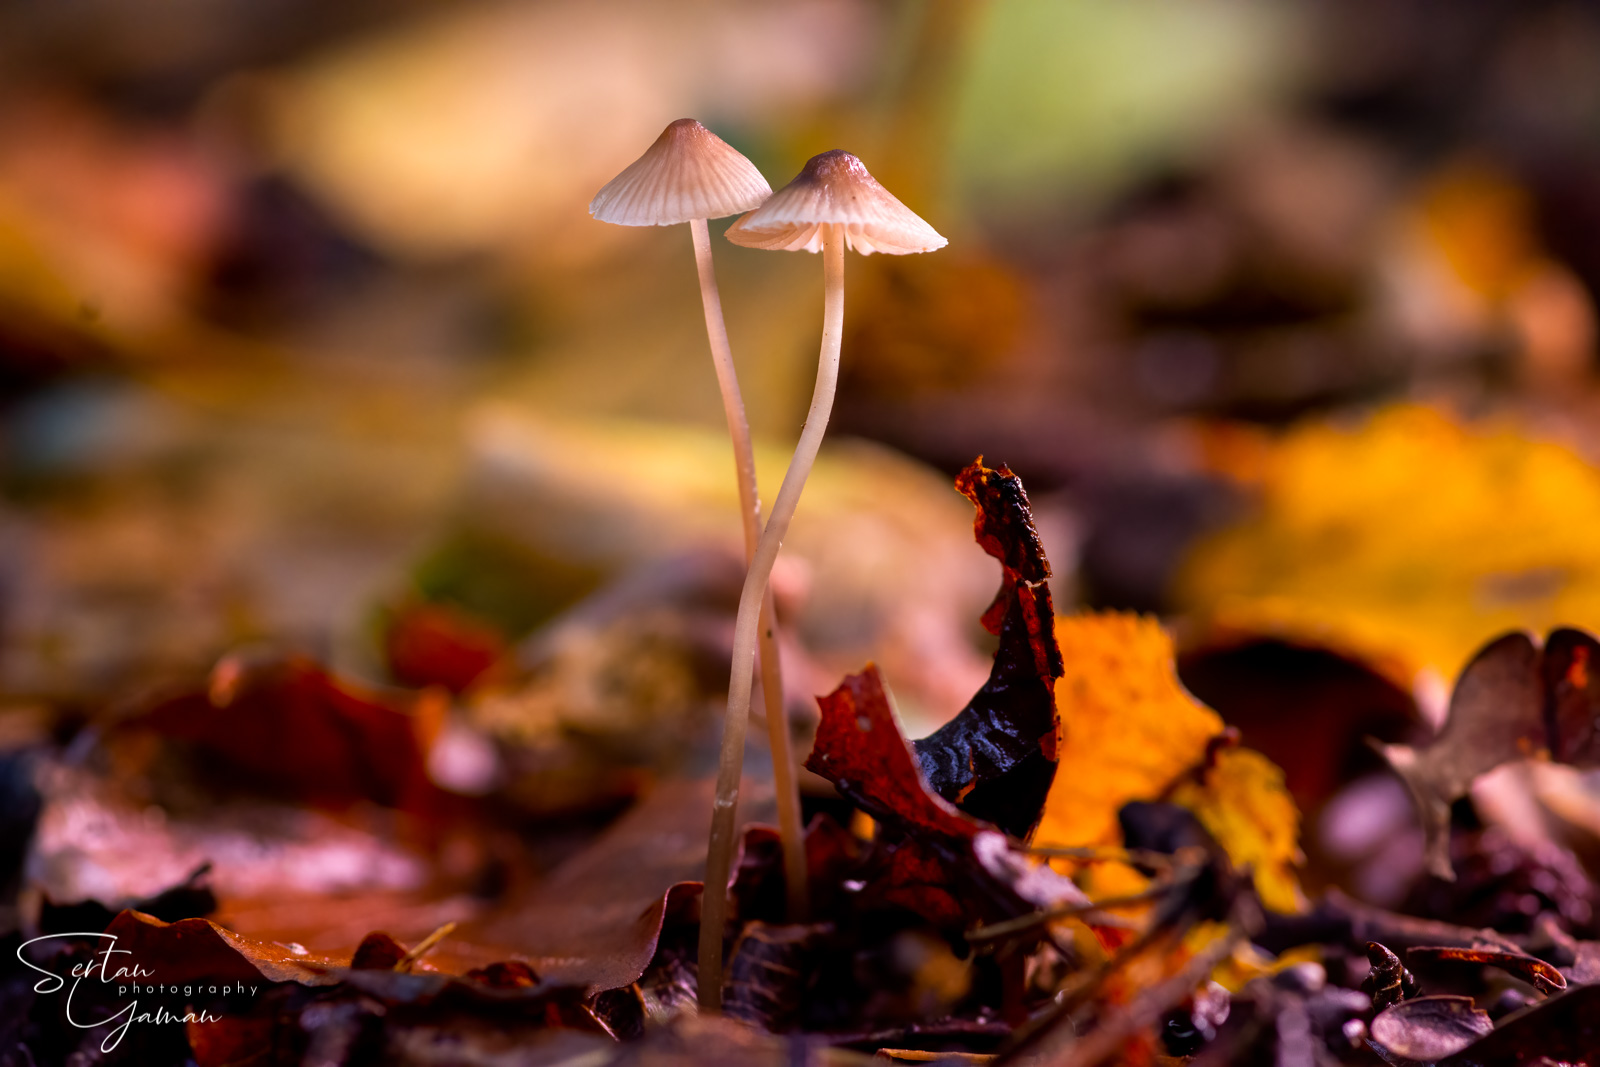
A very special kind of natural light, which I call the "magic light" happens when the low autumn sun shines through the tree branches and directly lights your mushrooms. You can take lovely photos in this rare lighting condition if you are in the right place at the right time. This kind of light will not only give a glow effect to your translucent mushrooms but will also create beautiful bokeh circles on your background from the direct lightray penetrating from the leaves.
If the mushrooms you photograph are not translucent enough and you want to include them in your photo, you need to use a reflector to reflect the light rays coming from the background to the mushrooms. This will create very powerful lighting since mushrooms are both illuminated from the back and also front. You do not need to buy a special photographic reflector, you can also tear a sheet of aluminum foil and use it as well. I would love to take all my mushroom photos with this lovely natural lighting but these conditions are unfortunately quite rare to come by:
You can also use reflectors to reflect available light in different directions to your subject. Here in this photo the light comes from another side and does not illuminate the mushrooms themselves. You can say that the photo is acceptable and can be fixed in "post-processing". However, wouldn't it be much better to hold a small reflector on it, reflect the light from the side and return home with the second photo?
Using a flash
If the lighting conditions are far from ideal, you may use a flash to improve the lighting in your mushroom photography. Flash is a very versatile and powerful light source that can be used to illuminate your subject, strengthen the power of the sunlight, create light rays or illuminate the whole of your background. You may use an on-camera flash in not-challenging conditions but I recommend using a bigger flash, which you can also place remotely and use from different angles. It would also be nice if your remote flash has a flash stand to put on the ground. You can even use clip-shaped flash holders to attach to tree branches or other objects.
In the examples below I will show some simple ways to use a flash to improve our autumn mushroom scenery.
Here, we have a group of mushrooms under a pine tree, which is completely in shadow, looking dark, flat, and dull. And the green foliage they are growing on seems completely dark and boring. I need to improve this photo so that the dark and dull areas will look brighter and more contrasty and the mushrooms will be better lit and receive a natural 3D pop in the foliage they sit:
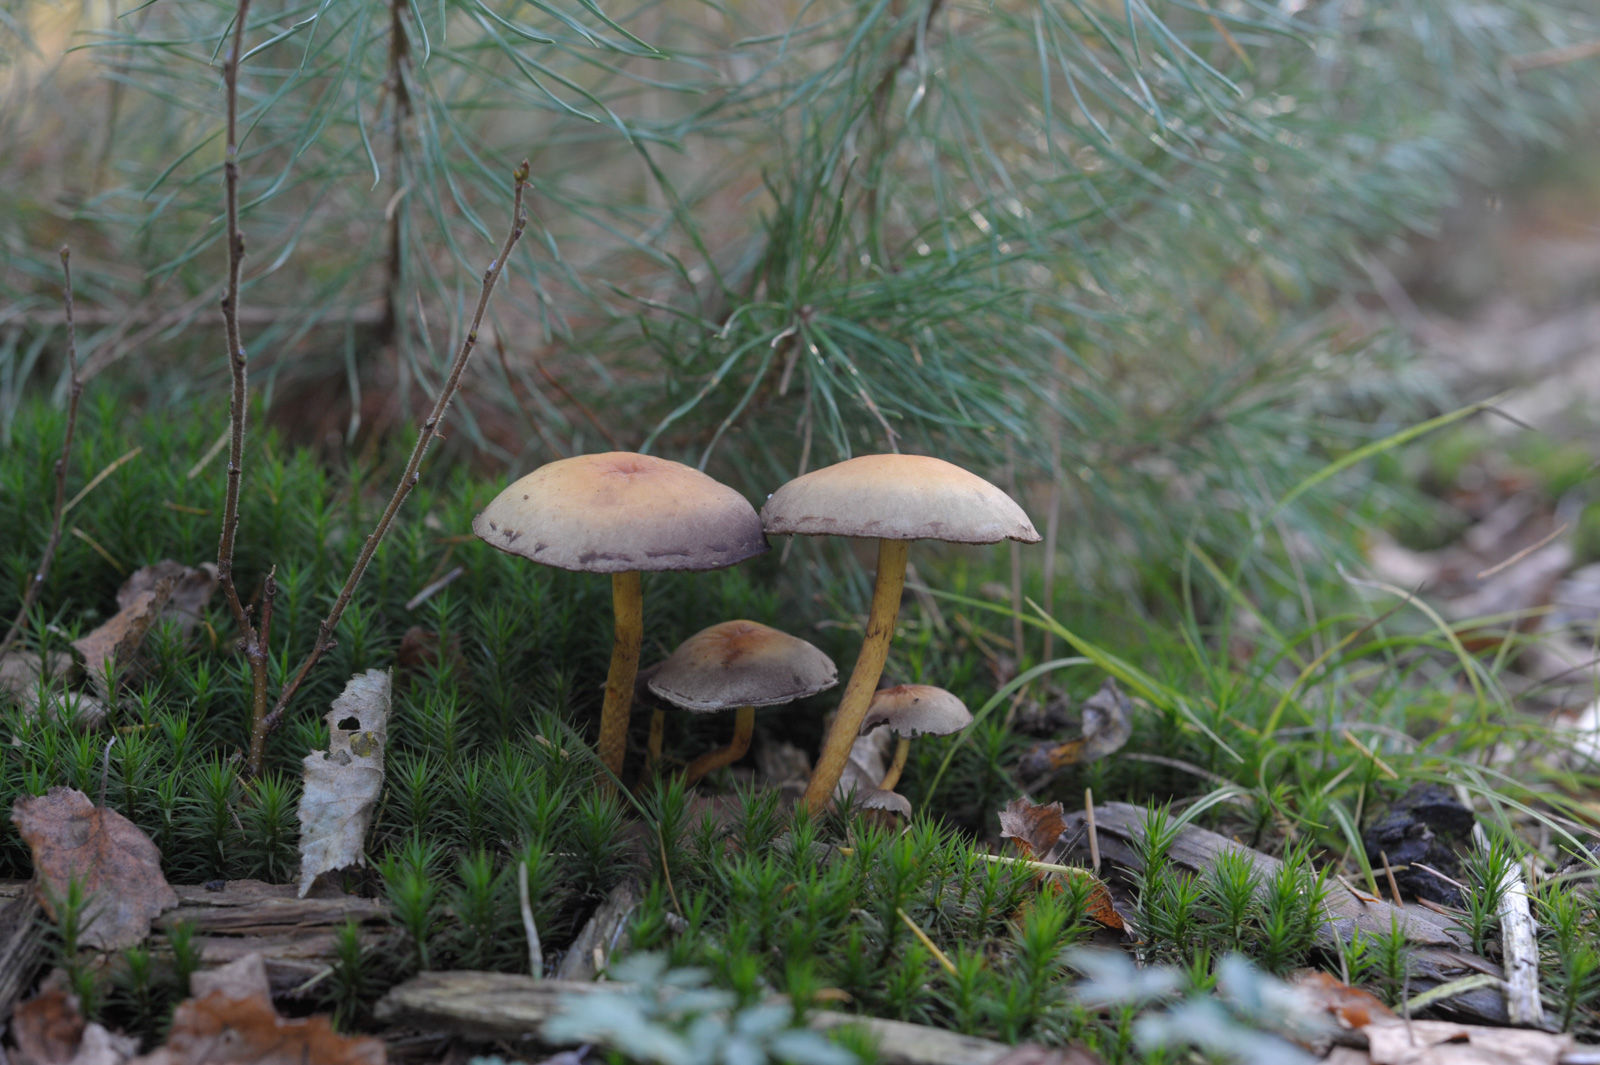
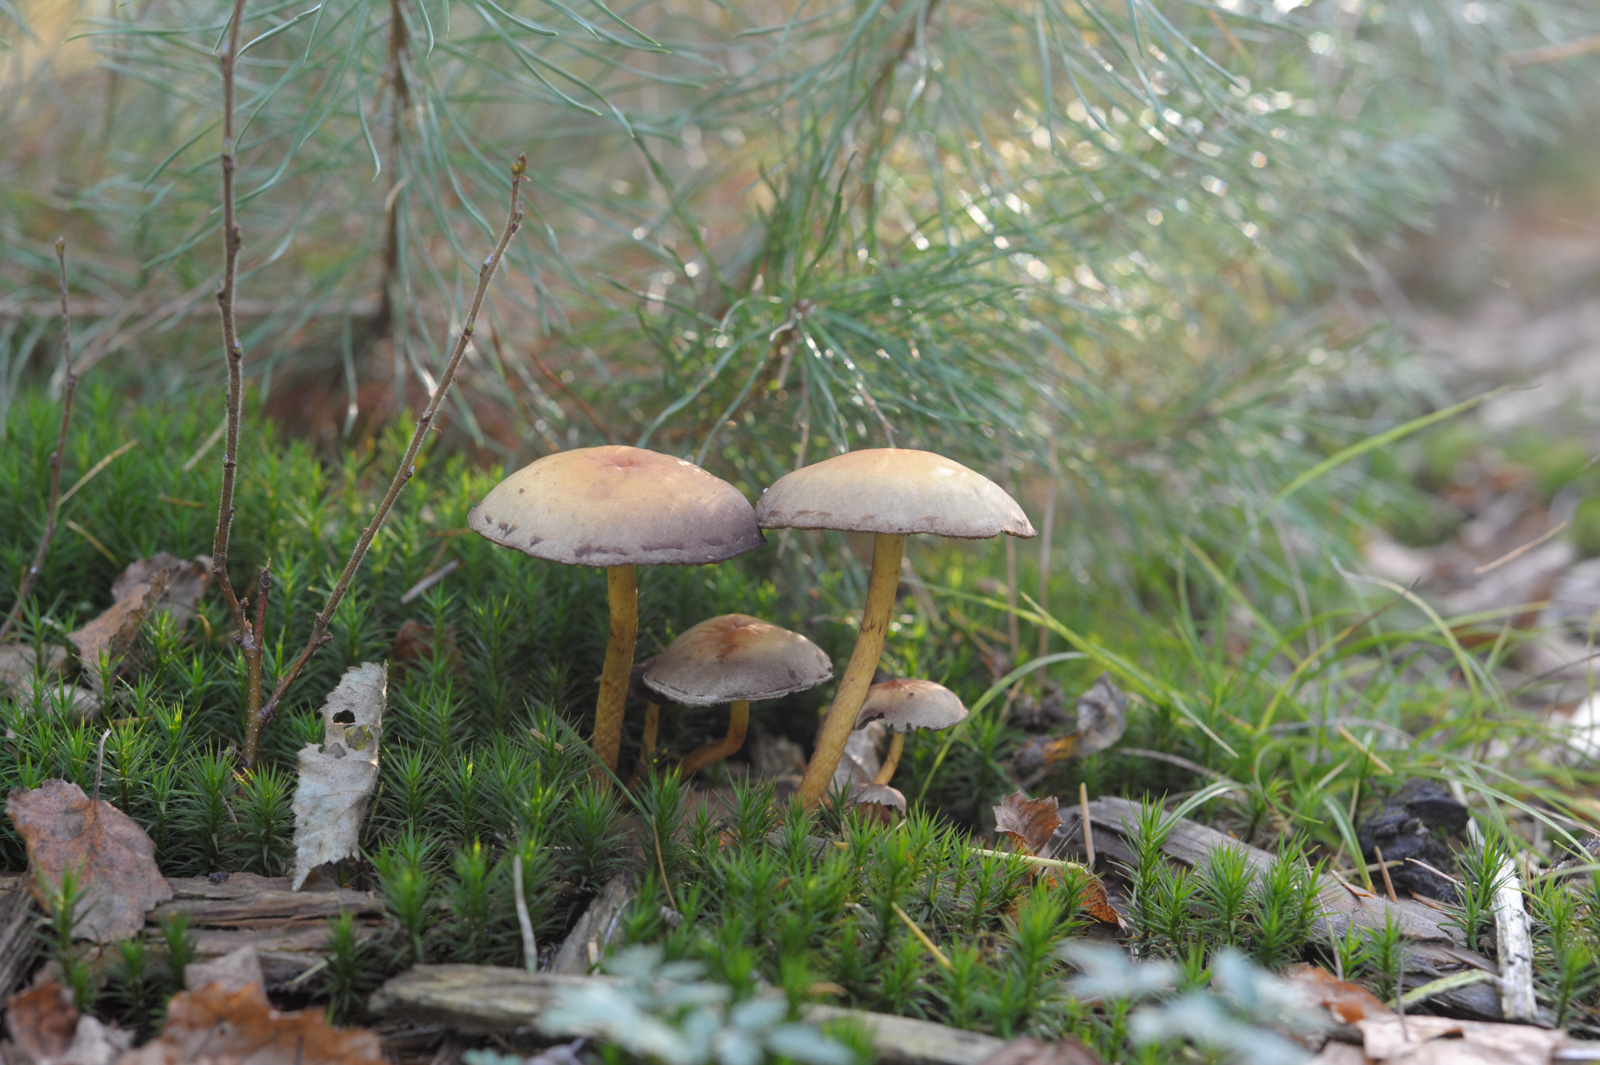
Here, I could insert the flash on my camera and make a direct boom with auto settings, but in the end, that will not look natural and the direct fill flash will not blend in with the natural light you receive from the background. To be able to take a natural-looking photo, I need to imitate the sunlight of a bright autumn day. So, first I get my flash in its wide-angle setting (also attaching wide angle diffuser), detach it from my camera, and place it above the right side and a little bit to the background to imitate the background sun. I then hold a reflector in my hand to reflect some of this extra light to the mushrooms. Here you can use your flash in TTL mode and get the recommended power from it, but I set it manually and play with some power settings to see the effects they bring. In the end, I choose full power and get the result below:
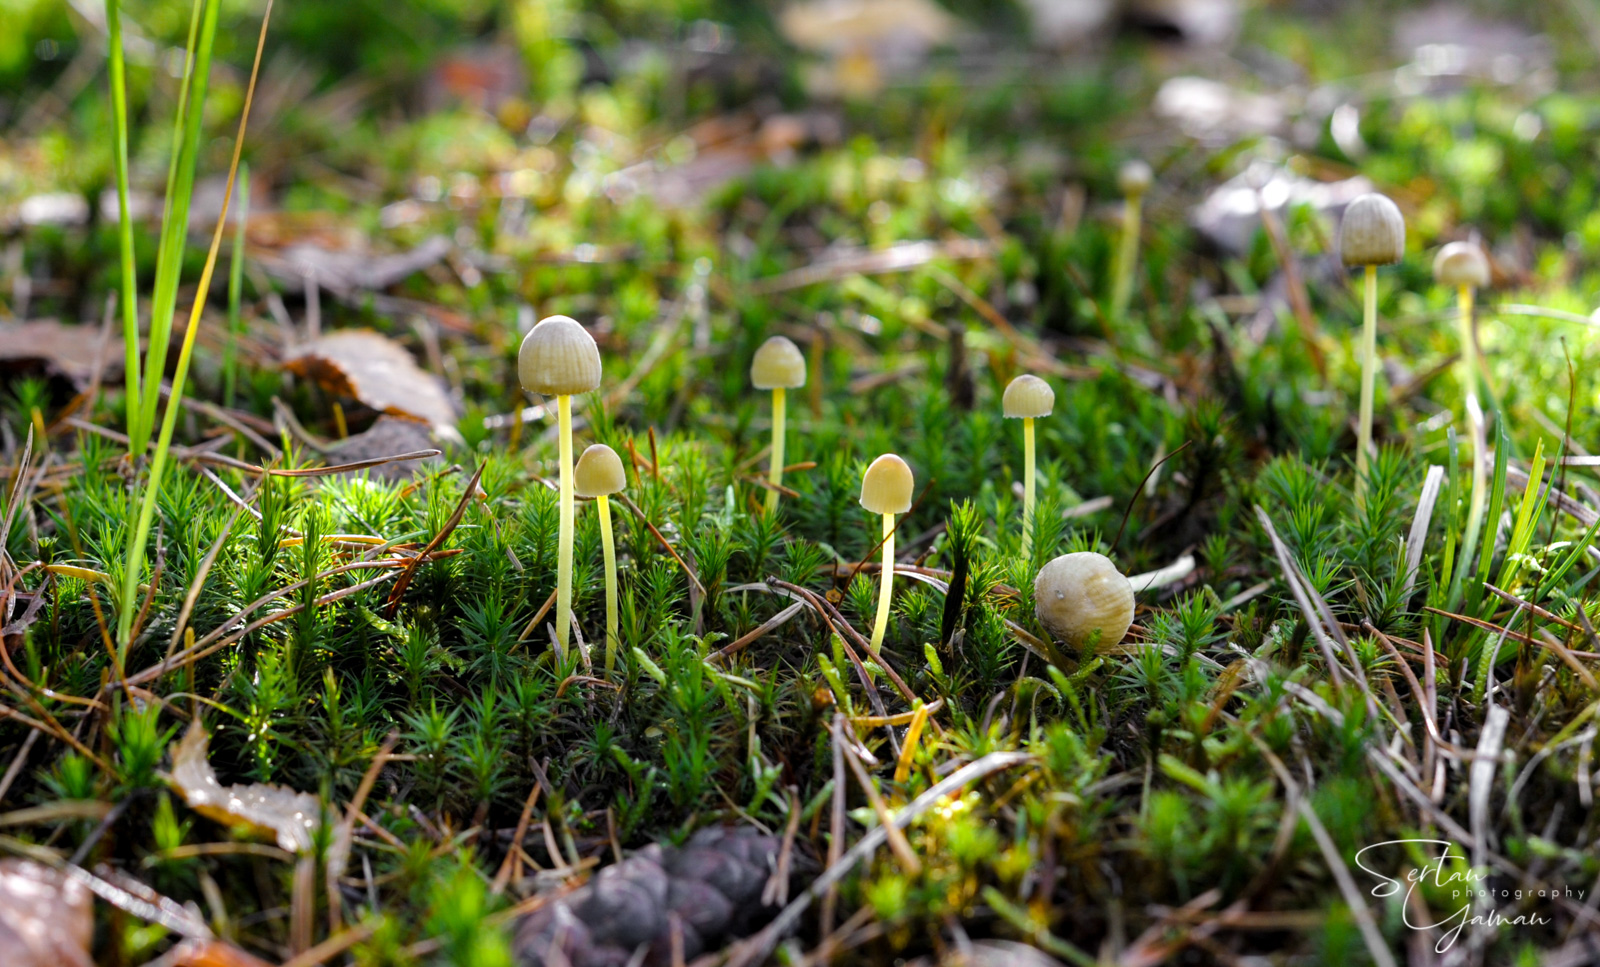
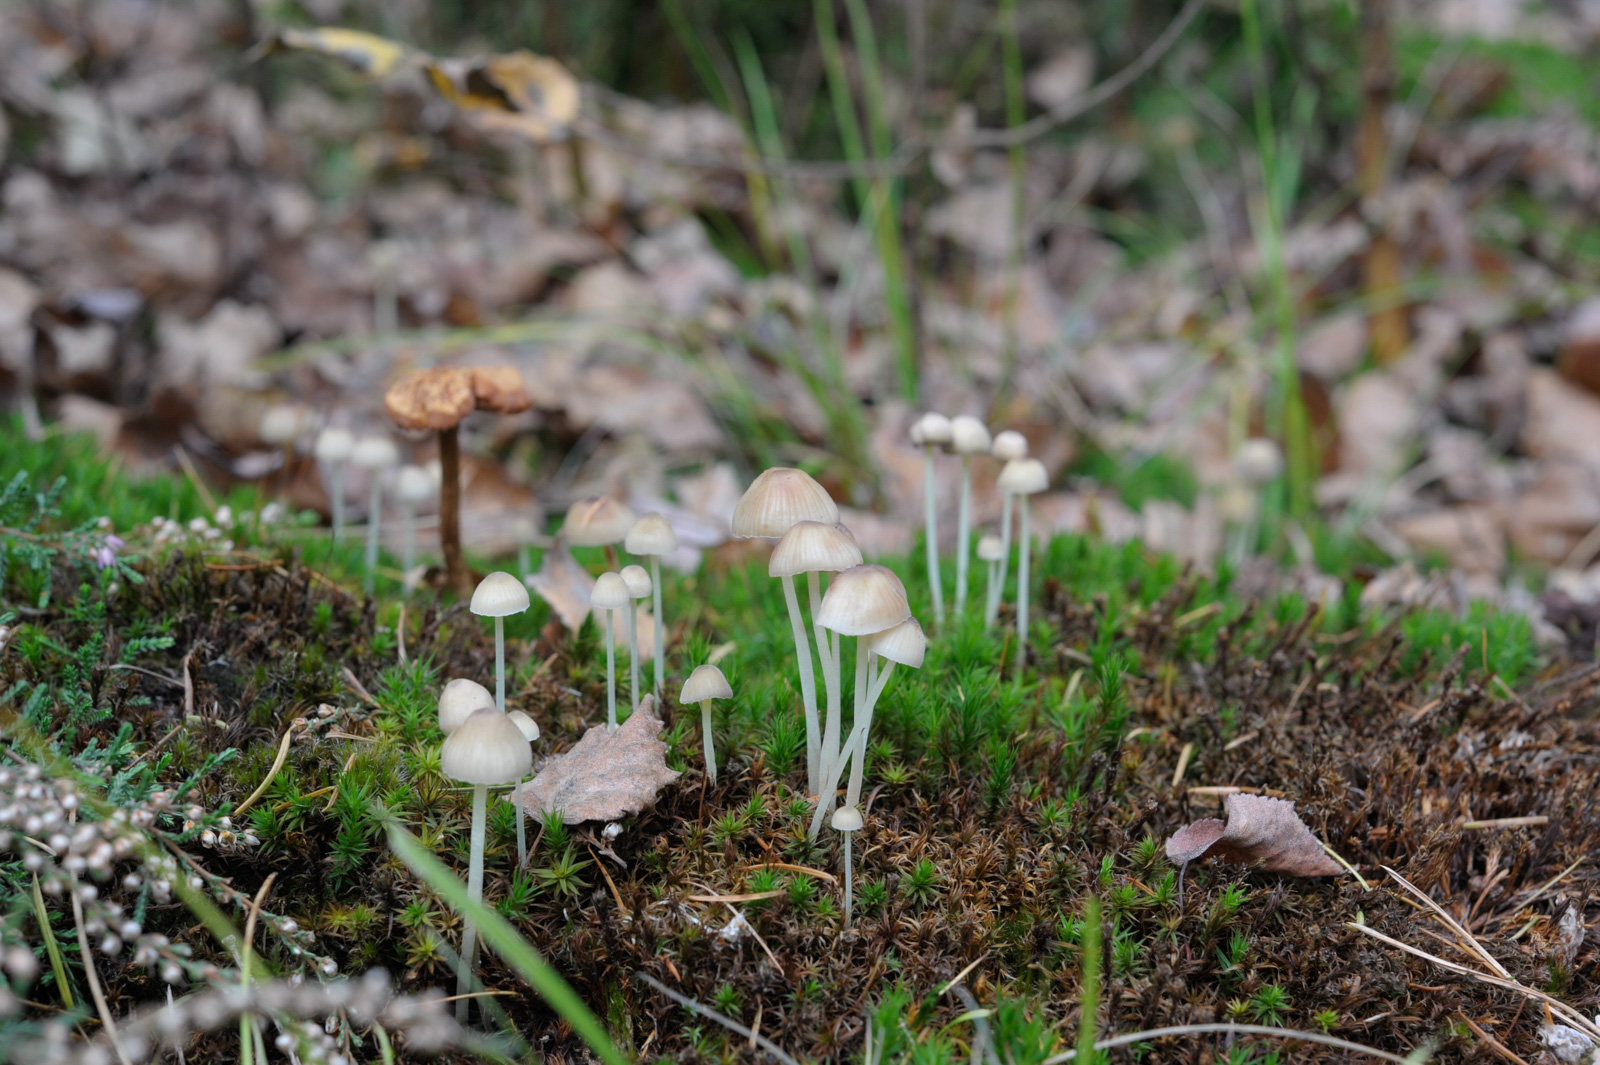
Sometimes, on cloudy autumn days, you could have a very beautiful and gentle soft light from the sky and would not want to add anything to it. The picture below is well-lit and acceptable, and you might say nothing else is needed for it. But we are taking our photos on the ground, where this gentle light reaches the last. However beautiful the light would be, on the ground its intensity is quite low and it would make our colors look cold and shadows very deep:
In these sorts of situations, you might boost the intensity of the sun by adding an extra flashlight. Just make sure your light is also soft and diffused (on cloudy days) to avoid an unnatural-looking photo. Here is the result after I add a diffused flashlight to the same photo from above, at half power:
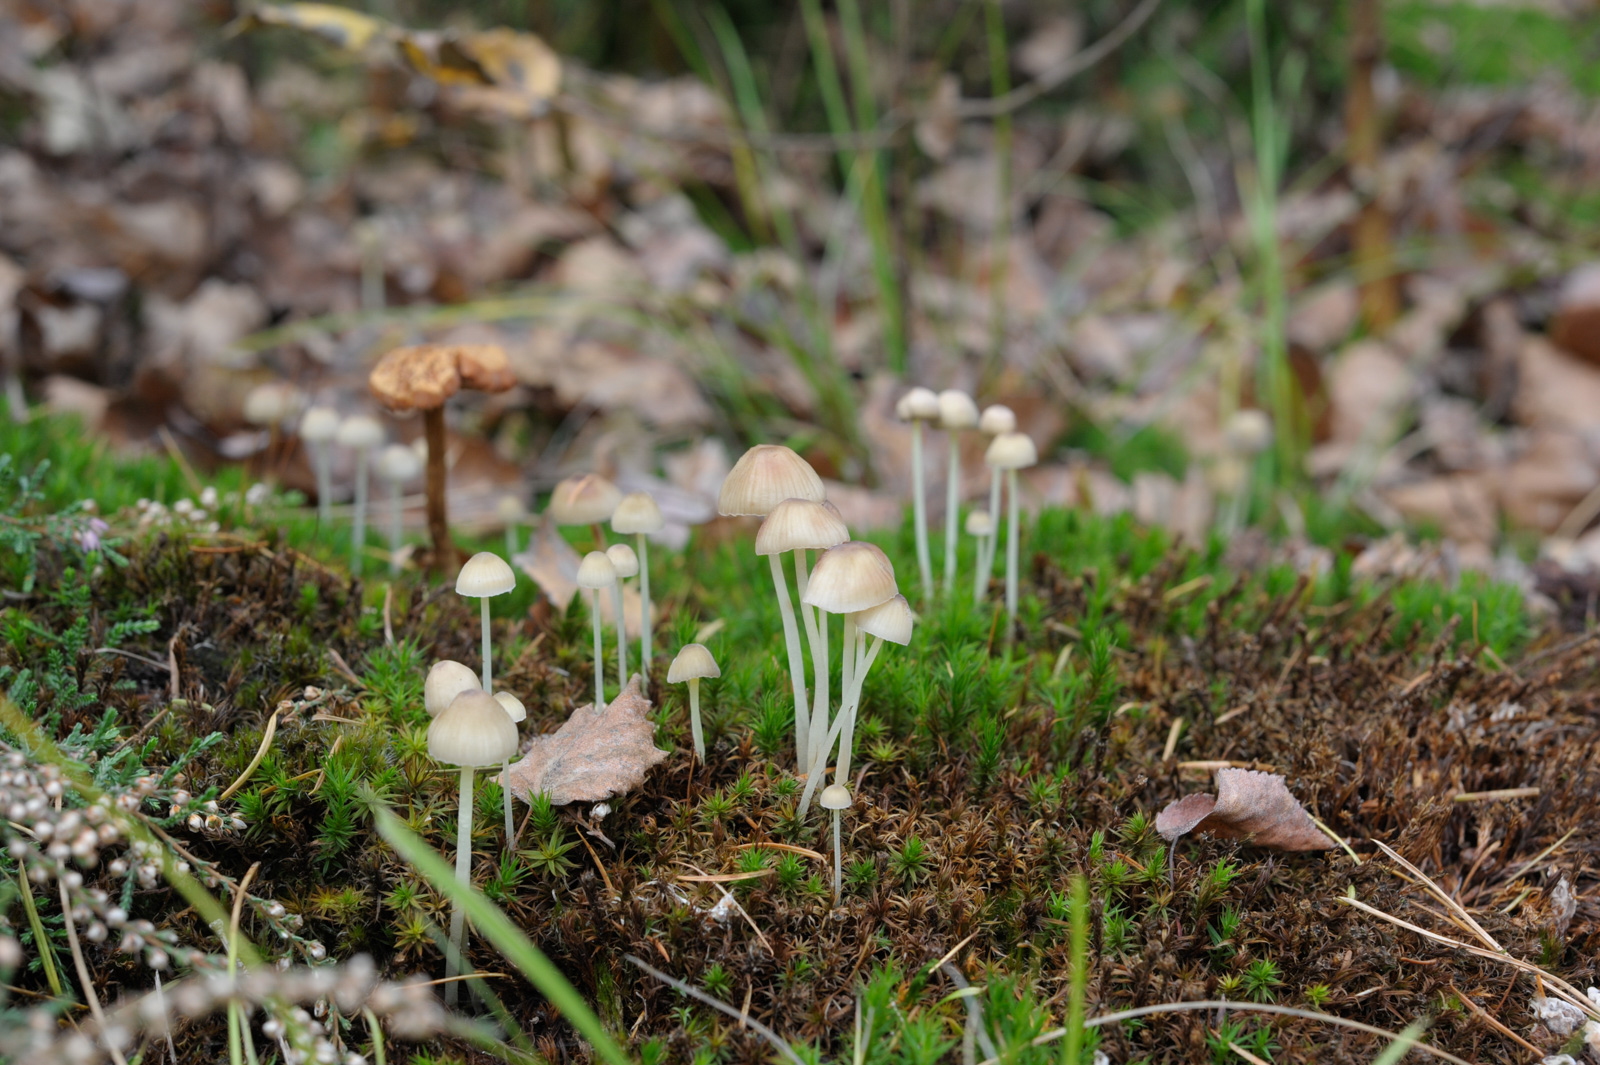
As you can see the colors and dynamics range of the photo is improved by adding a flash, even in rather acceptable light conditions.
Here in this example I have a mushroom growing in complete darkness under the trees, without a flash it is not possible to take its photo so I attach my flash to a nearby tree on my left back and use a lower power wide angle flashlight, to make the photo look as natural as possible in such darkness. The result is as shown below:
My photo looks well lit now, however; I find the result a bit boring and flat, also a bit unnatural since everything seems to be lit evenly with my flashlight. To improve it I need to examine the possible natural light conditions and imitate them if possible. The scene is completely dark but I see sometimes some light rays penetrating from the big trees behind. But they are not enough for a good photograph and the sun is not in the correct position to create beautiful light rays on the mushroom. I can either wait all day until the sun gets into the position to create better light rays on it or create my own light rays. I go for the second one and place my flash to the opening behind the trees, bringing it to its highest focal length to create a spotlight that will turn into light rays like the sun is setting behind the trees while I take my photo. Here is the result:
In Similar conditions you may encounter photographing mushrooms inside a trunk. Here I place my flash on top of my head and give them extra sunshine from above, which makes everything look boring and unnatural:
These mushrooms stay inside a dark trunk and the sun never shines plentifully inside such a narrow and closed space. Also, a huge shadow created by direct flash is popping up in front of the trunk. So my photo is screaming that it is made with fake techniques. How can light shine into a rotten tree trunk that illuminates these mushrooms in a way that is closest to what happens naturally? Perhaps in a bright autumn sunset, the sun penetrates from a hole inside the trunk, illuminating the trunk mushrooms for a moment with bright sun rays. Let's try it. Place your flash behind the trunk and set it at the highest focal length possible to create a straight light ray. Do not diffuse the flash. Get into a position where you can also blend it with natural light. Here in this photo, I used around half power and also added the flashlight from my cellphone to imitate direct sun rays on the underside of the mushrooms. Here is the resulting final photo:
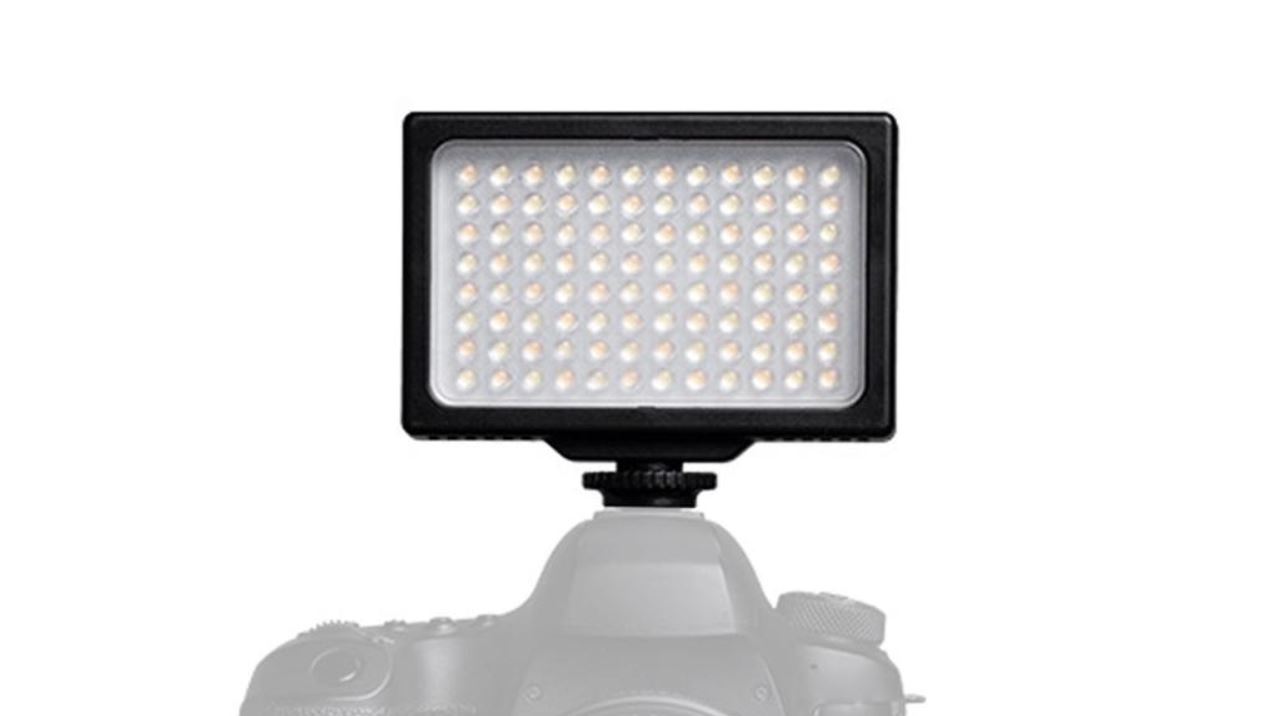
Using led panels
These are very versatile light sources which you can see the effect of the illumination immediately on your subject. However, they are not as powerful as your flashlight.
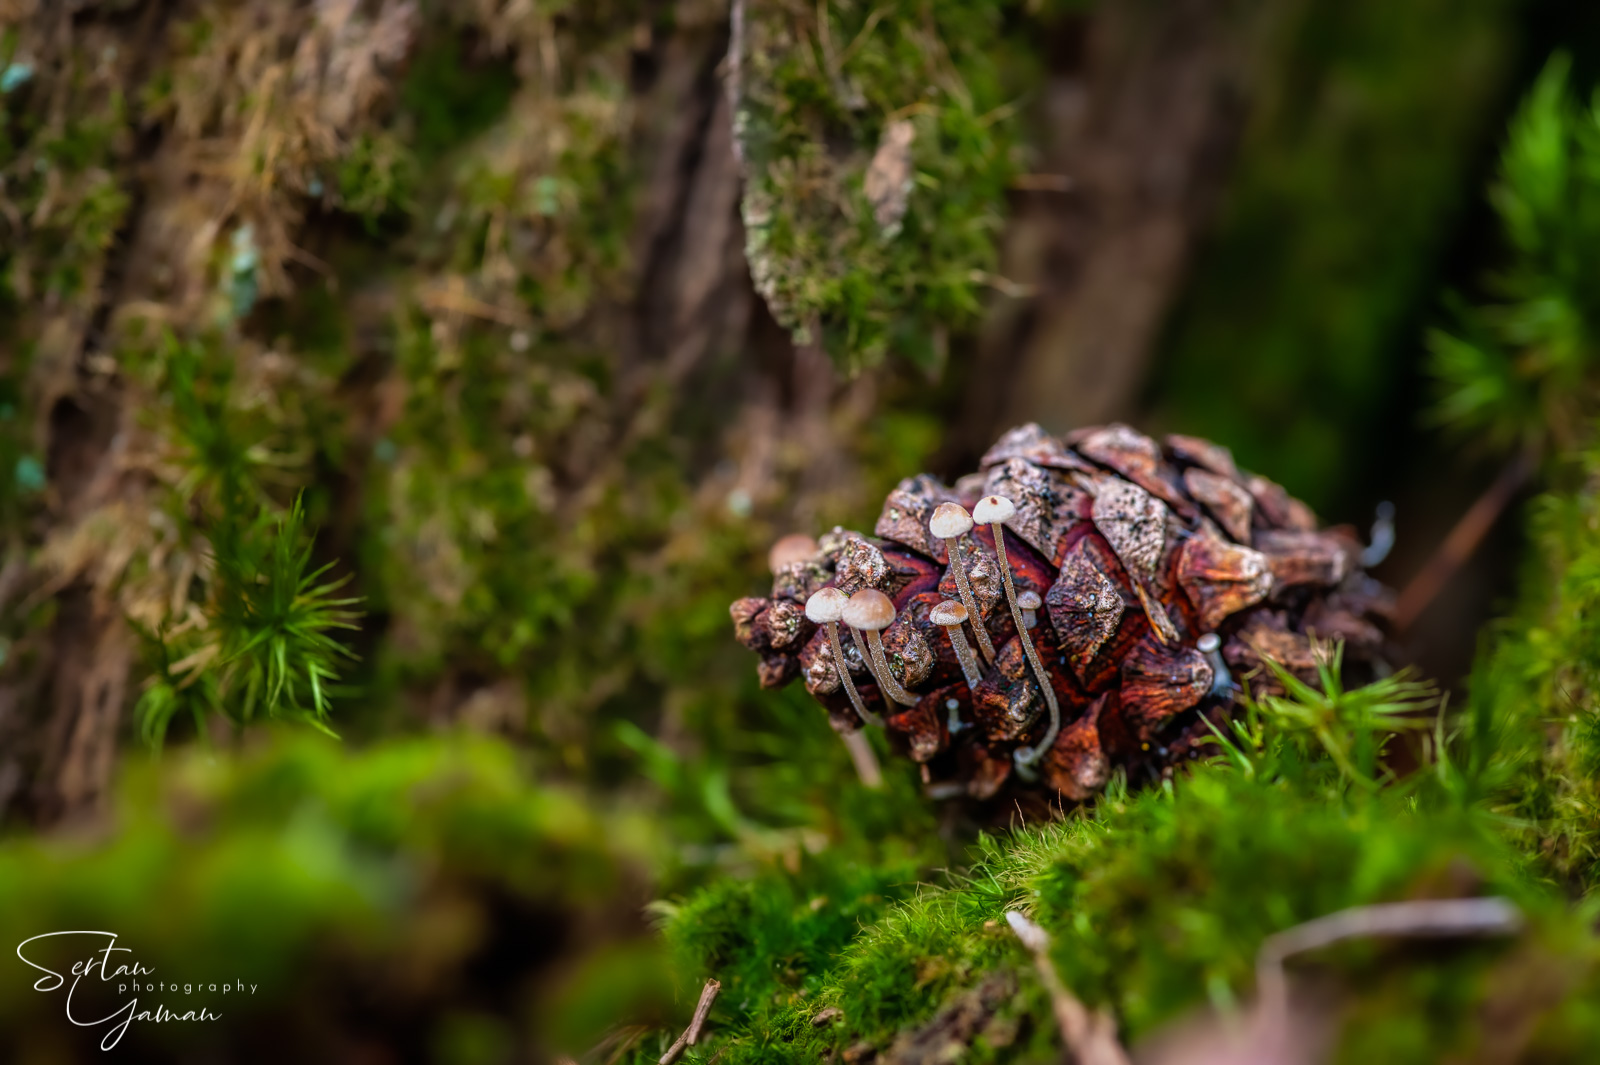
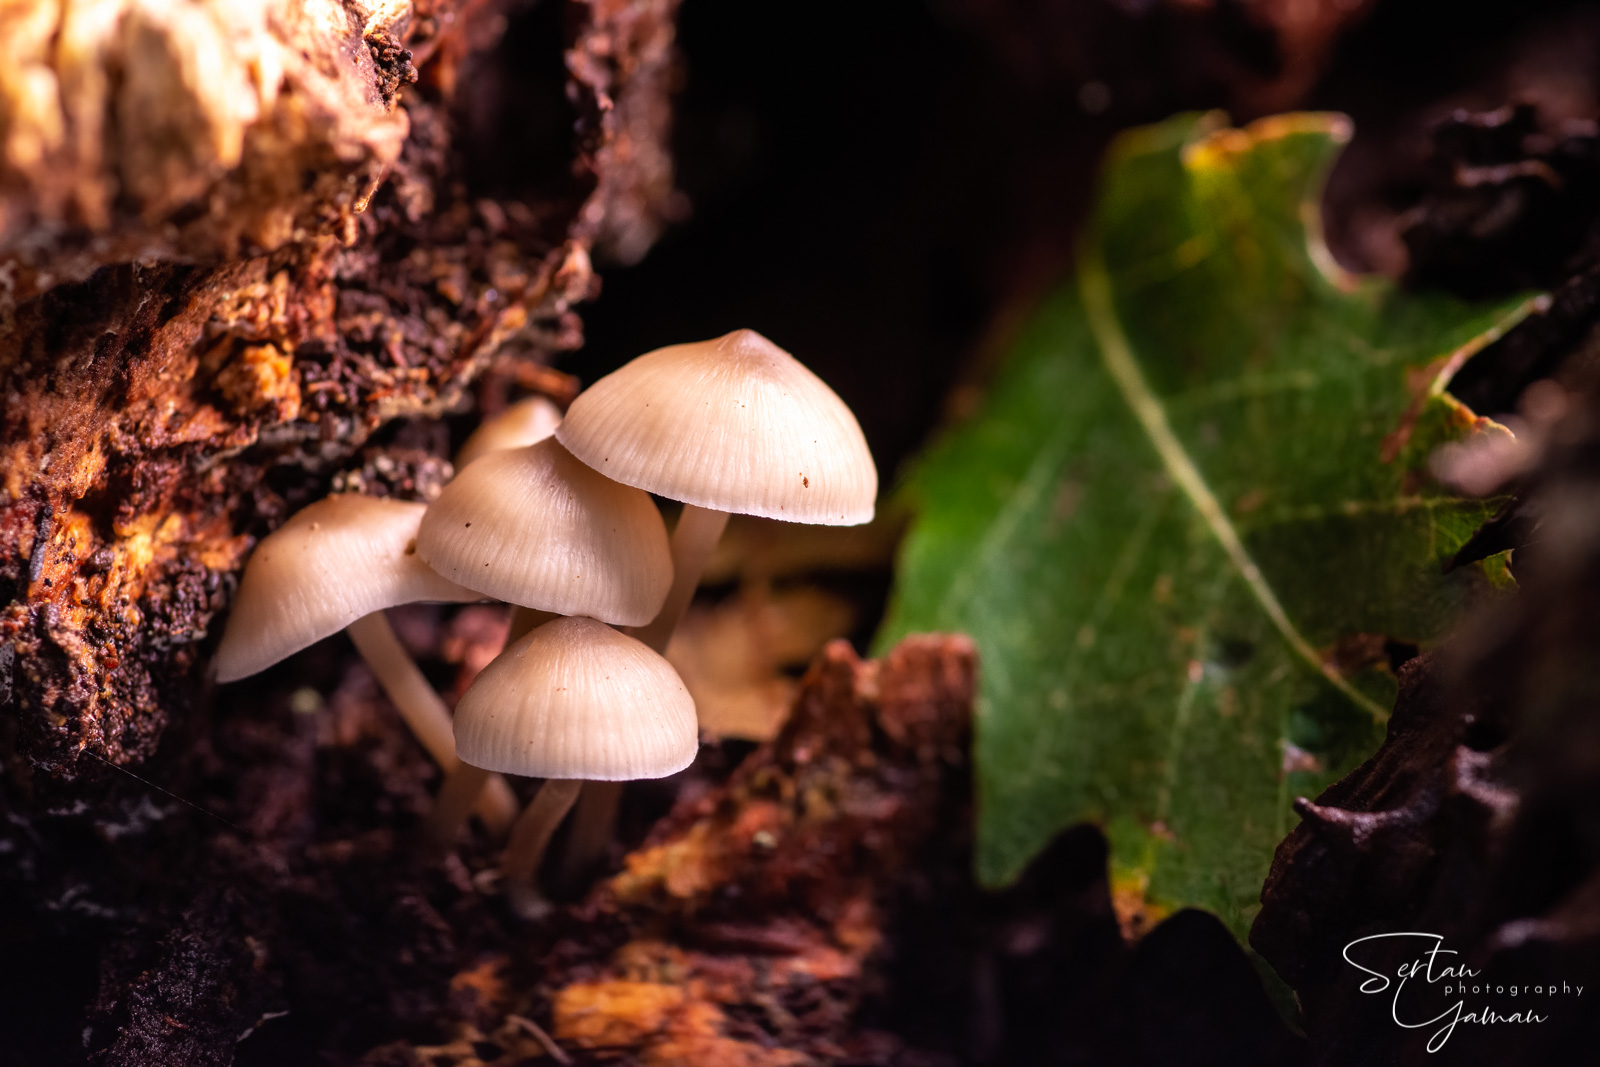
Being a less powerful light source, they are especially useful if you like to illuminate the mushrooms on their front and keep the background dark, as seen in the photo example below. This happens due to the magical law of physics that the intensity of the light decreases the square of the distance away from the light source, so if you place your subject 20cm away from the light source instead of 10cm, you receive 4 times less light (being 2 times further away).
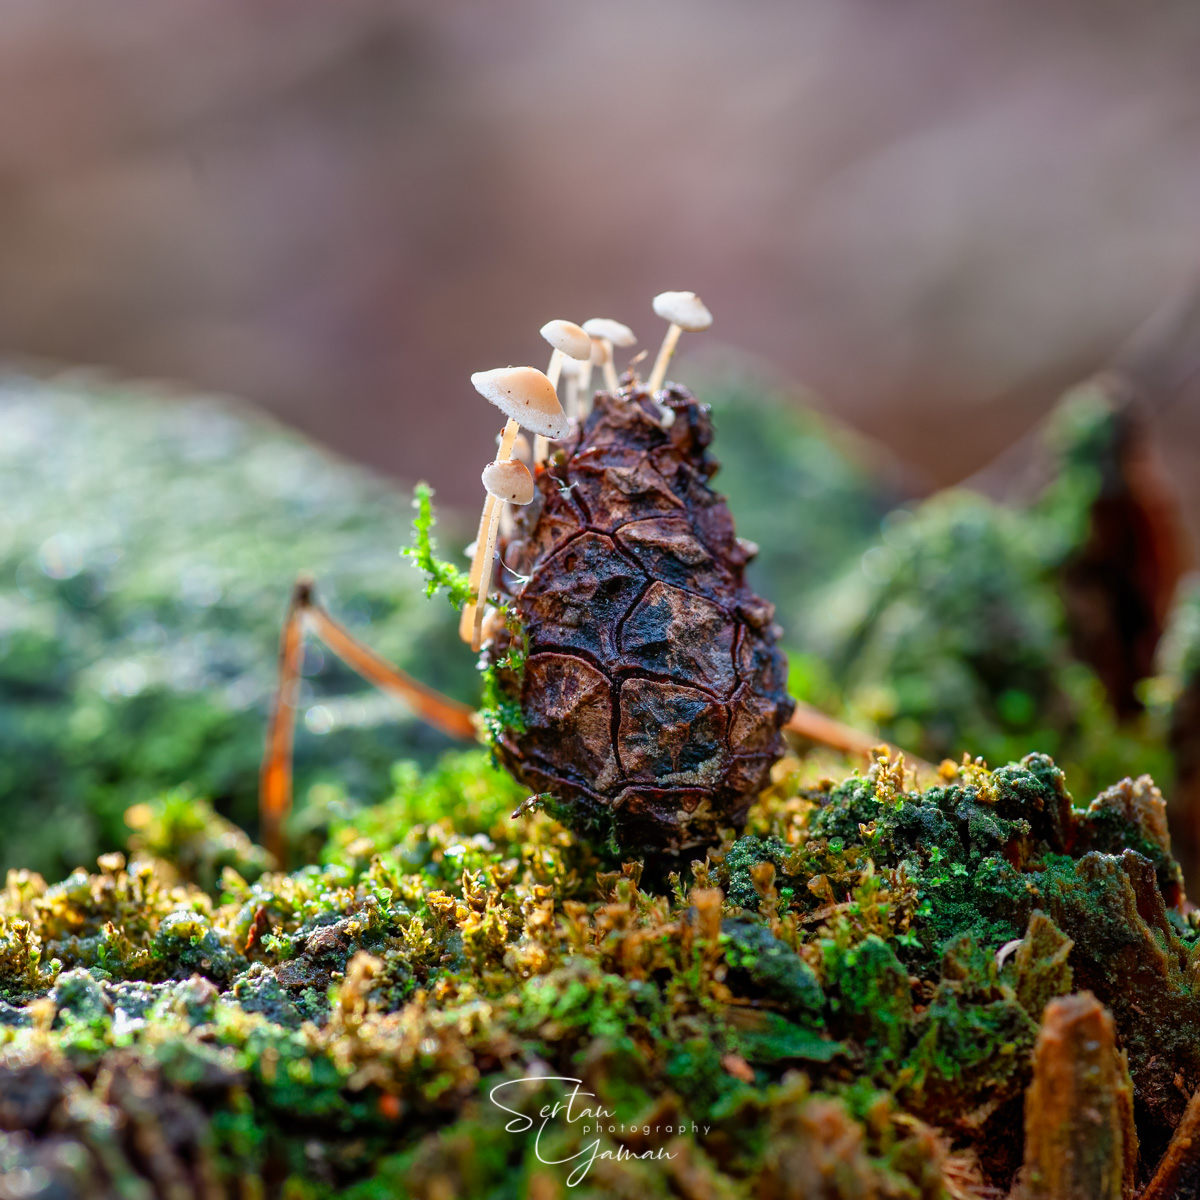
Since such a versatile light source is available, we do not need flashes anymore for our mushroom photography, right? Well, that depends. Actually, in 2021 my flash was broken and all my mushroom photos are taken with a led panel only. But when you want the whole scene including the background also to be well lit, or create sunray effects or artificial backlighting, you still need to use a powerful flash. You can also use both light sources together, a led panel for illuminating the subject and a flash for adding background light. In the photo below, I used both of them because it was nearly total darkness when I took it and the mushrooms looked dull and boring with a completely dark background:
Summary
We looked at some examples of how to solve your problems with photographic lighting in mushroom photography. The best solution always is using the natural light available and not touching its beauty,.. well only if it is available. For the people living in a dark Northern European country like me, you need to exercise with artificial lighting to take your mushroom photography to another level. This is so far my experience I shared with you on 'solving the light puzzle'.
I hope you enjoyed the tips I have given to you and I wish you a nice and fun mushroom photographing day!